
Here, we will see, how to create the vertical slider using Elementor page builder.
This vertical slider is made in a different way, where we use two columns. One column is sticky, and the other should scroll vertically, which appears like a vertical slider.

Firstly, we have to install the pro version of the Elementor to build this slider.
Now we will take a look at the steps :
- Add multiple images in one column and text in another column.
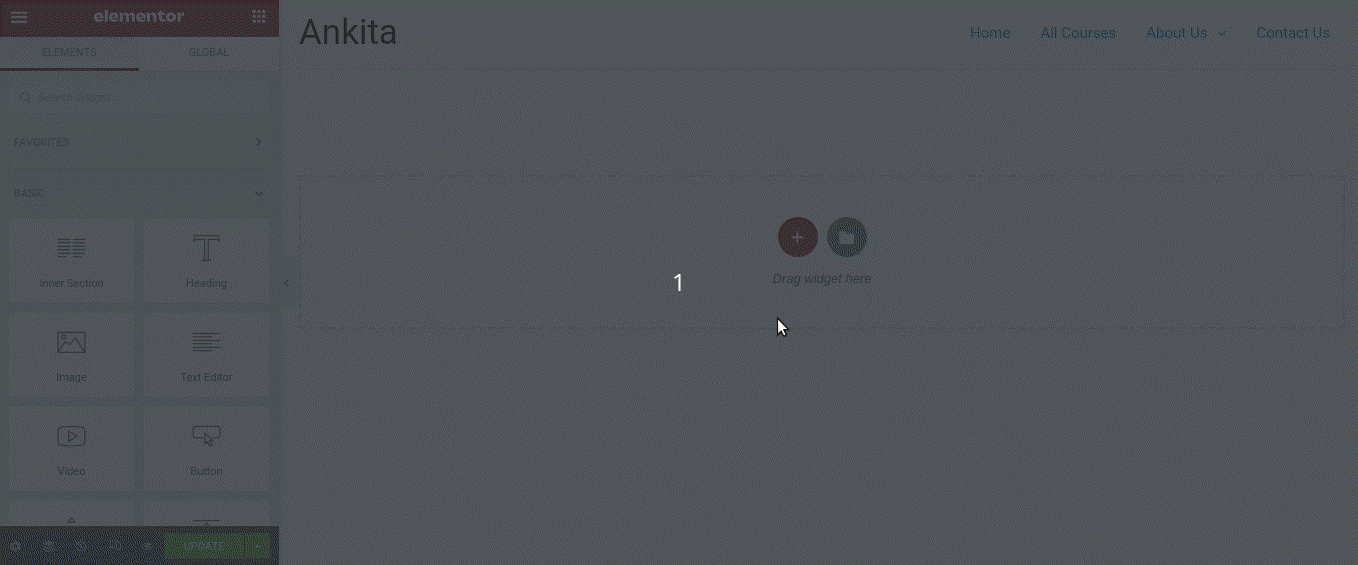
- Take a section, the section should have two columns
- Insert an inner section in the right column.
- Select the inner section.
- Go to advanced options and select motion effects.
- Select top in the sticky option below.
- Add the same class to both, the inner section and parent column of the right column.
- Add below CSS for the class used above.
.sticky-column{
position: sticky;
position: -webkit-sticky;
top: 3rem;
}
.sticky-parent
.elementor-widget-wrap {
display: block!important;
}
This is how you can create your own vertical slider so that the website looks amazing. Hope this helps you in building your website creative. That’s all about the vertical slider.
If you liked the blog you can mention your reviews in the comments below.