
In WordPress, you can add limited no. of profile fields but with the help of BuddyPress, you can add as many as profile fields you want and group them. So that they can be displayed and managed easily.
Let’s see how can we add Profile Fields using BuddyPress.
Plugins Required
- BuddyPress is a WordPress plugin that helps you build an online community of engaged, active users. Site visitors can create profiles, connect with other users, send private messages, and even create interest groups. As mentioned, BuddyPress is a standalone plugin.
Adding a new Profile Field
Suppose you want to display certain fields so that users can fill and display them on their profile. Let’s see how this can be done using BuddyPress. Follow the given steps to add a new profile field to your profile.
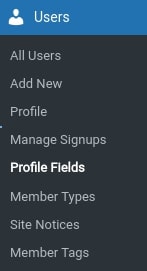
1. On your dashboard go to users→Profile Fields.
2. Click on add new field, enter the field name, and description then select the type for the field. for eg: text box, phone number, checkbox.
3. On the right-hand side you can see requirements, signups, member types, visibility, etc.
4. The last step is to save the field. Watch the video given below for a better understanding.
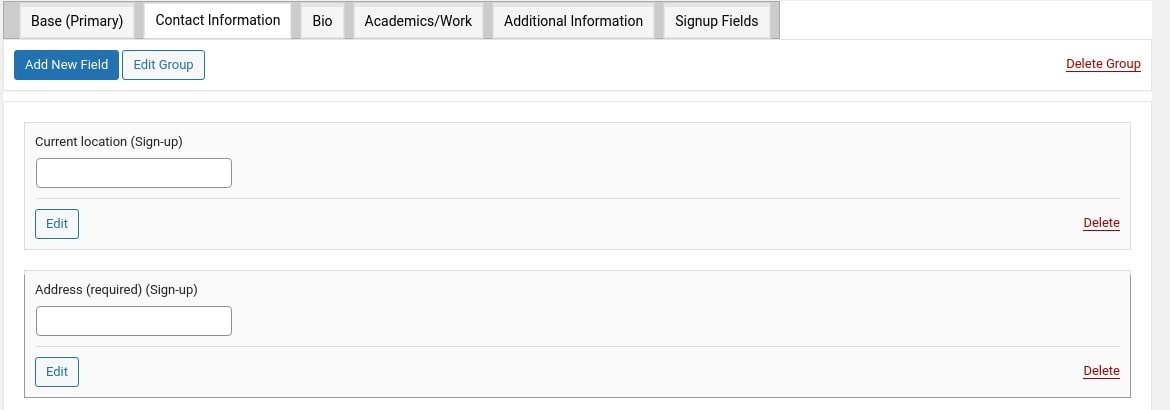
Similarly, you can also create a new field group for eg; contact information is a group that will have fields like address, mobile number, Linkedin profile, current address, etc. As shown in the given image below, you can create multiple groups and add the required fields.
That’s how you can create multiple field groups and profile fields, hope you like this short blog.