In this tutorial, I will show you front-end course creation in WPLMS.
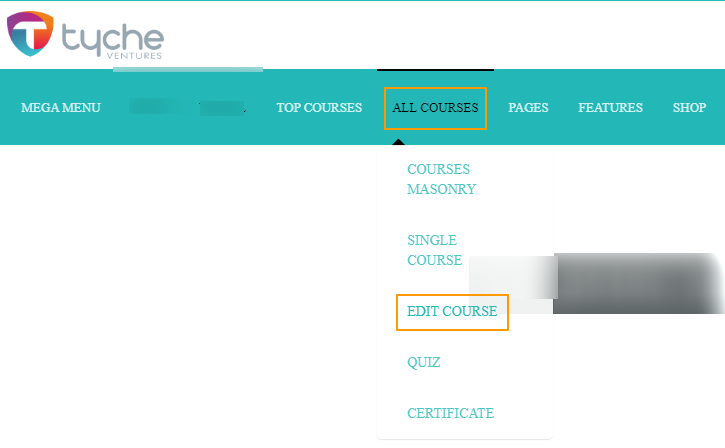
- Visit the website and in the header, you will see the link to All Courses. Hover the mouse over it and click on the edit course link.

- When you click on the Edit Course link, it will give you two options as shown below. Click on ‘Create Your Course’.

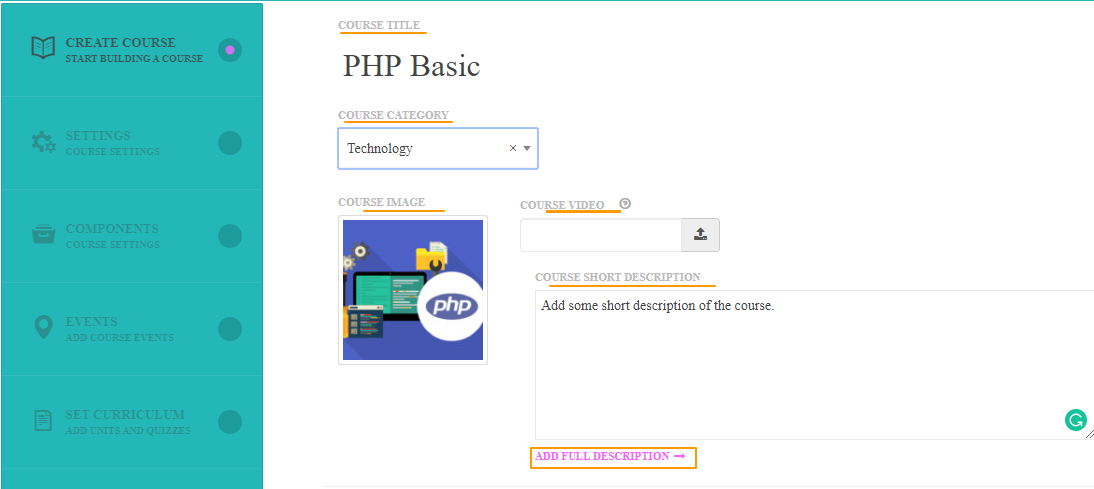
- You will see the course creation page below.
- Let’s start with course creation. Give the course title, select the course category, set the course image, course video if required, course short description, and add a full description too. Then click on the Create Course button.

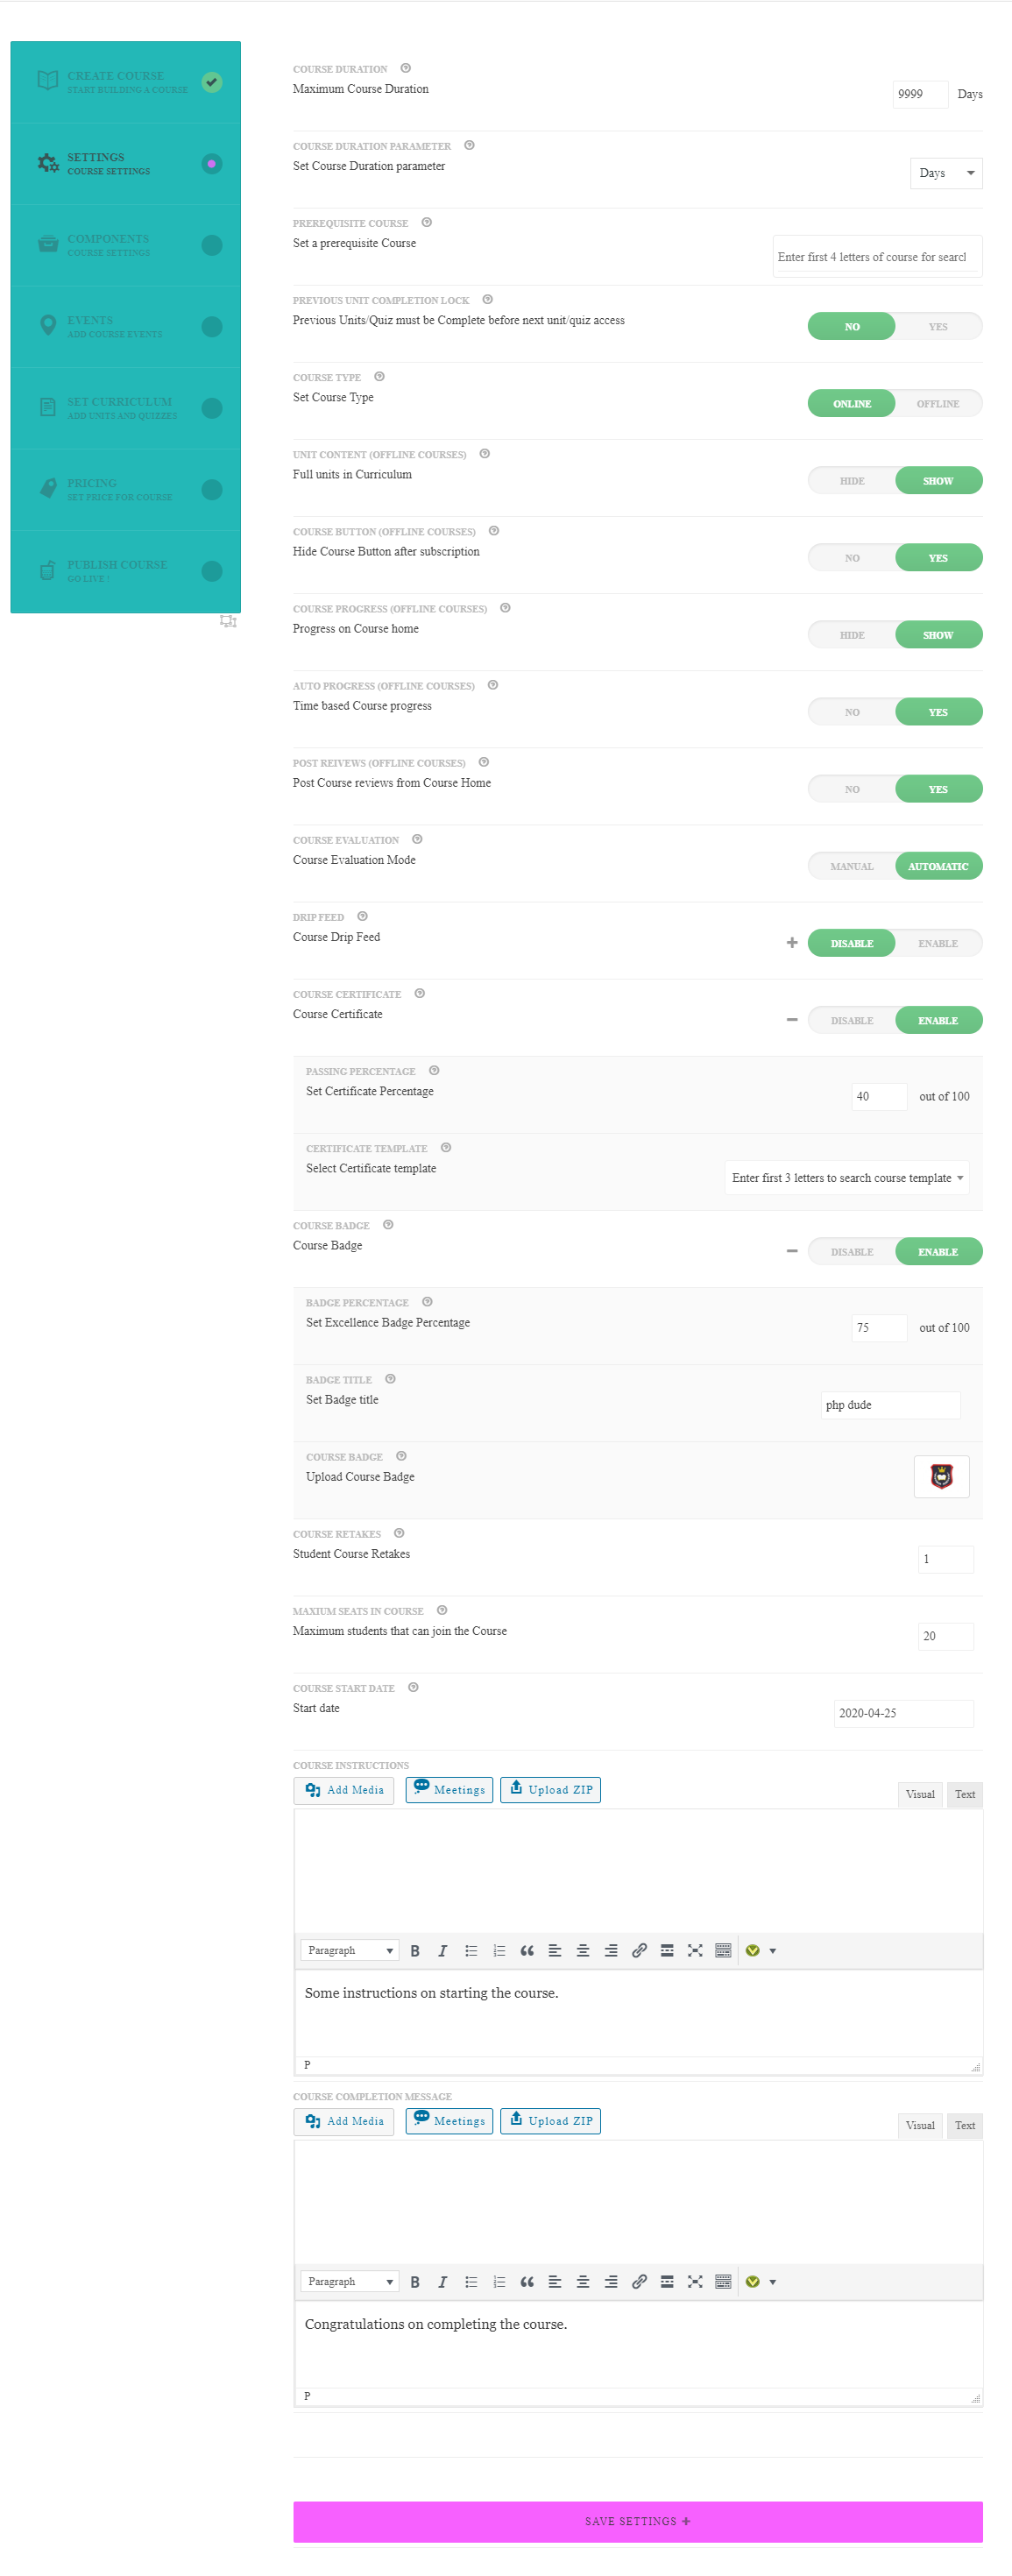
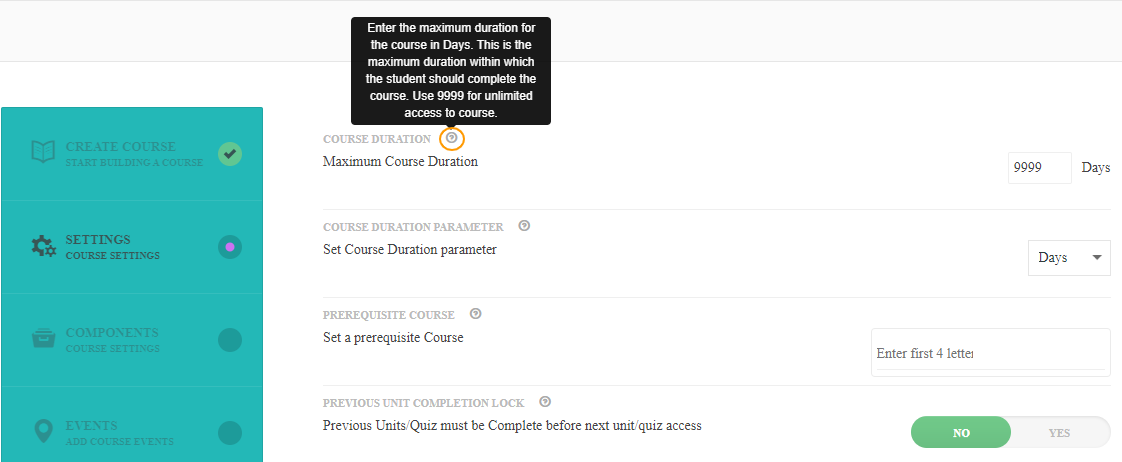
- The second section is the Course Settings. Here set the maximum course duration, and course evaluation mode, Set the prerequisite course if necessary, and keep some settings default. Enable Course Certification, and set the certificate percentage. Enable the course badge and fill in the required details it. Save the Settings.

Note: Hover over the question mark (?) which is present after every title, it will give you information about that title, so that you will get an idea of what to do over there.

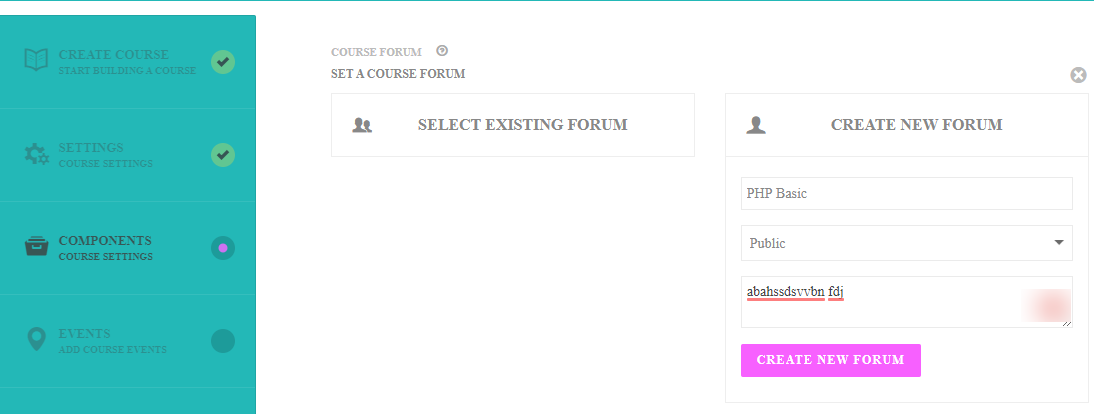
- The third section is Components, where we can create a Course Forum. Again you will get two options here to create a forum. If you have already created a forum then click on Select Existing Forum link, otherwise click on Create New Forum link. In Create New Forum, give a name to the forum, and set its visibility and forum description. Each time save the settings.

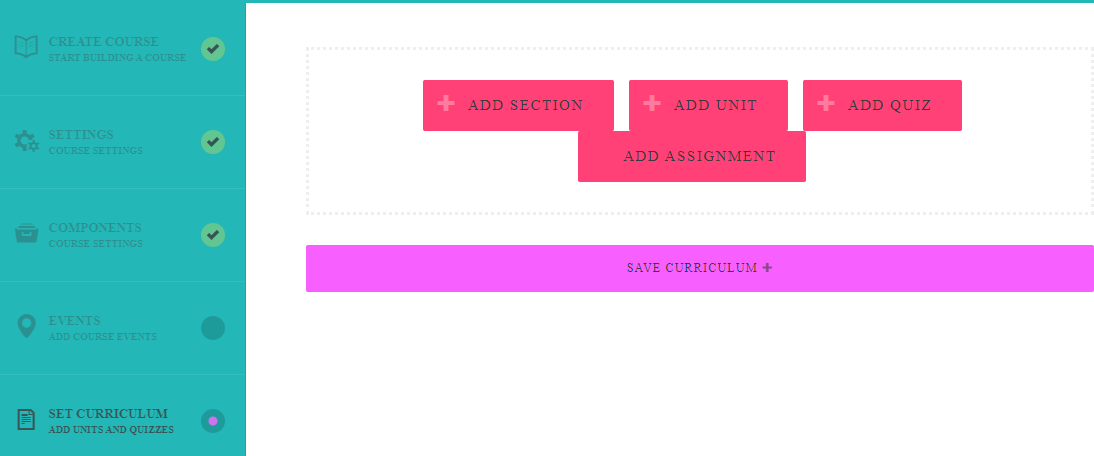
- Next is Set Curriculum, in which you can add sections, units, and quizzes to your course. Hover the mouse over the blank rectangle, and you will see buttons like Add Section, Add Unit, Add Quiz, and Add Assignments.

- So first click on add a section, and Enter the section title. Again mouse hovers over the blank rectangle and clicks on the add unit button. Then click on Create New Unit and fill in the unit name. Do the same for the quiz and save the settings. Likewise, you can add any number of sections units, and quizzes.

- Now we will add content to the units. To do this, hover the mouse over any unit and you will see 4 options. The first is to edit, the second is a preview, the third is to remove, and fourth is to delete.

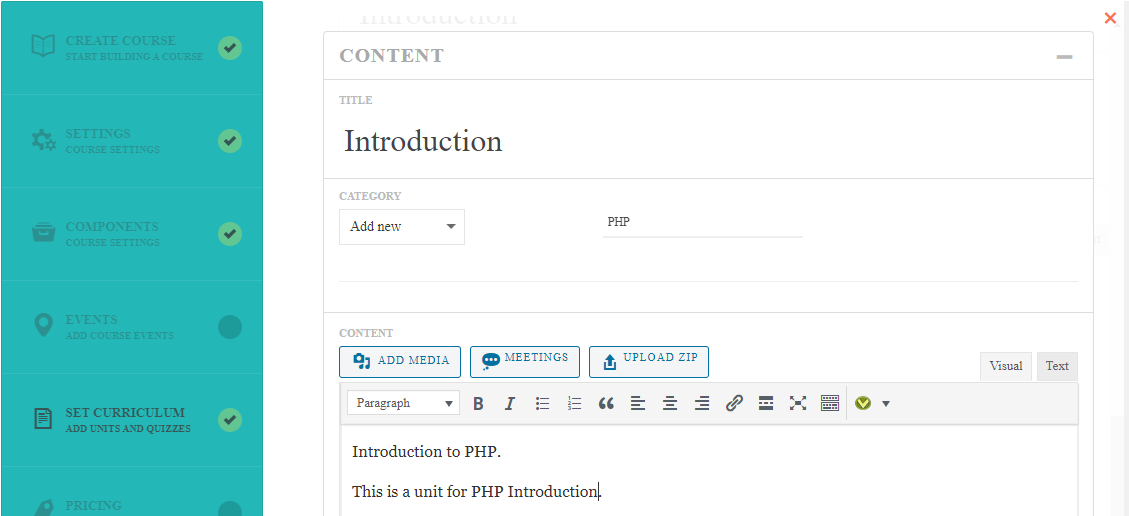
- Click on the edit option. Here you will see 2 or 3 sections, content, settings, and assignment. Fill in the details in the content section as shown below.

- In the Settings section, give a one-line description of the unit, select the unit type as general, unit duration, unit forum, etc. You can link the previously created forum here.

- Save the settings. You can edit these sections from the backend by clicking on the Edit In Admin button.
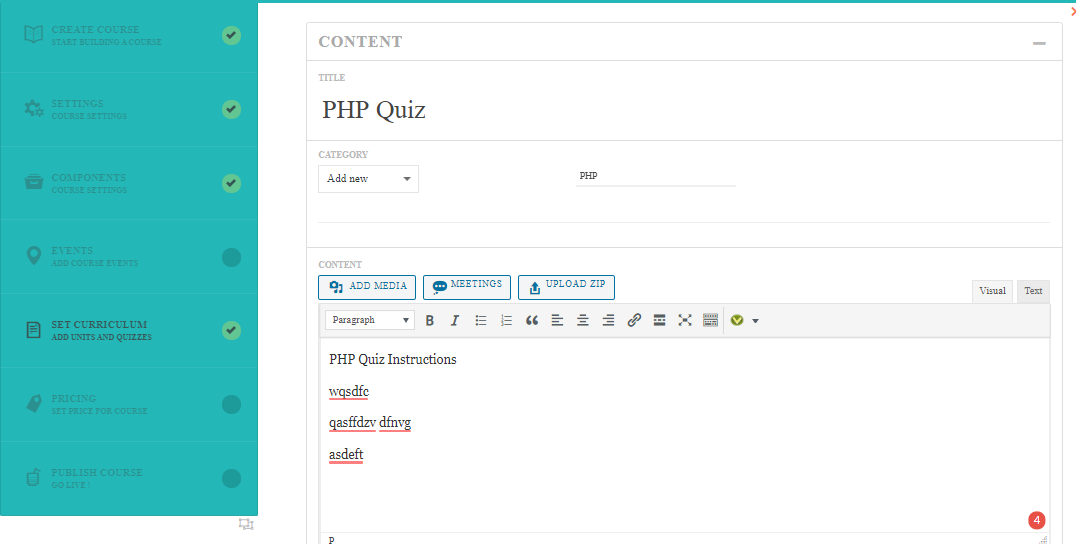
- Now we will add a question to the quiz. For that hover the mouse over the PHP Quiz and you will get the edit option, click on it. In the Quiz, you will get 3 sections content, settings, and questions. Fill in the required information in the content and settings section below.


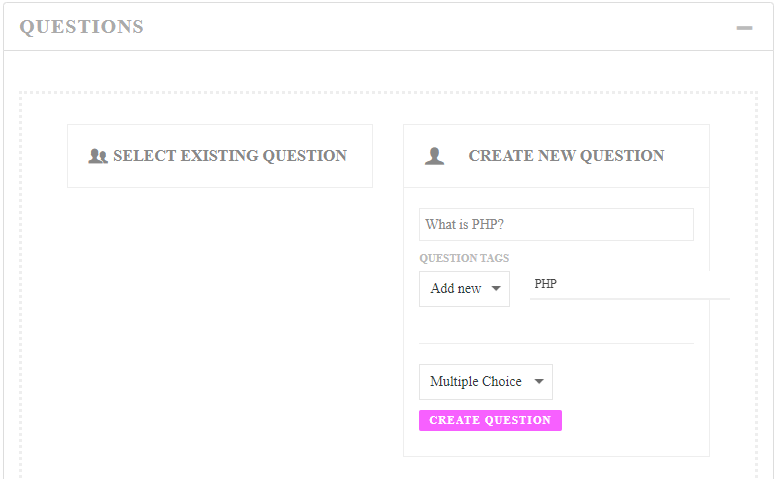
- In the Questions section, you will get two options to create a question either you can select the existing question or create a new question. Here I am creating a new question. In the Reference Title write the question. Select the Question Tag as Add New give the tag as PHP and choose its type as Multiple Choice.

- We need to edit this question. Fill in all details like a question, its options, the hint of the answer, correct answer explanation, and save the question. See the below video.

Same as above you can add several questions you want.
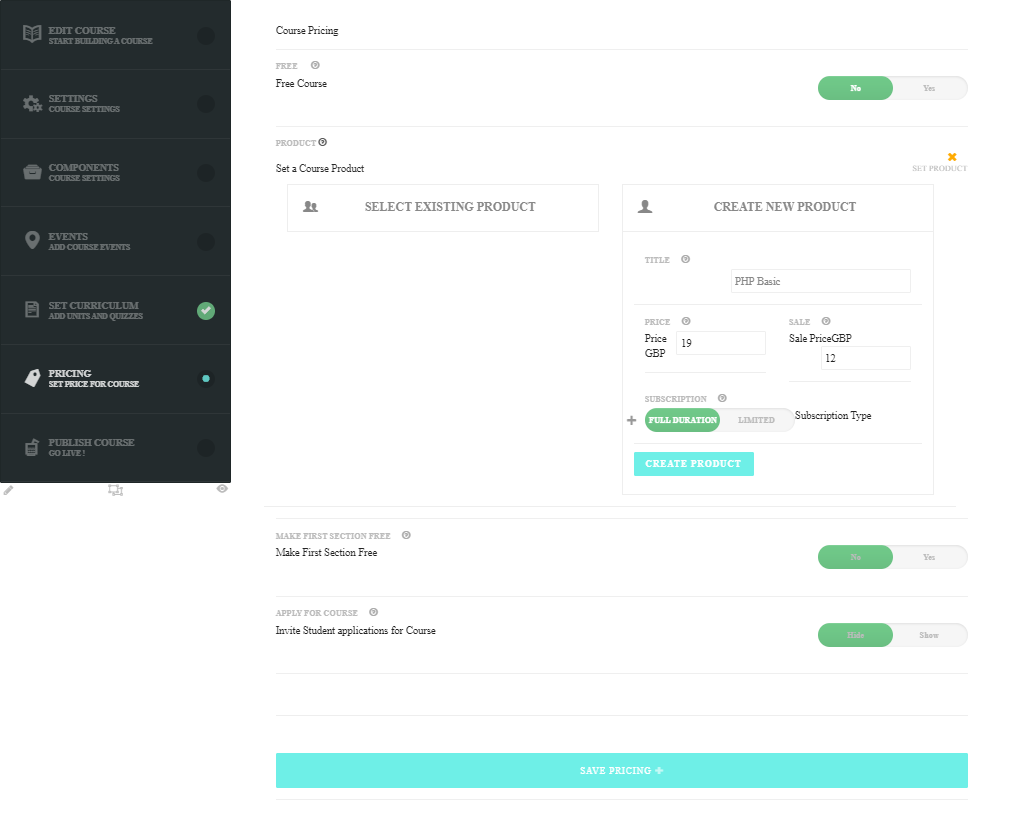
- Now we will move to the Pricing section. You can set course either free or paid, you can set up a Course Product by clicking on Create New Product.

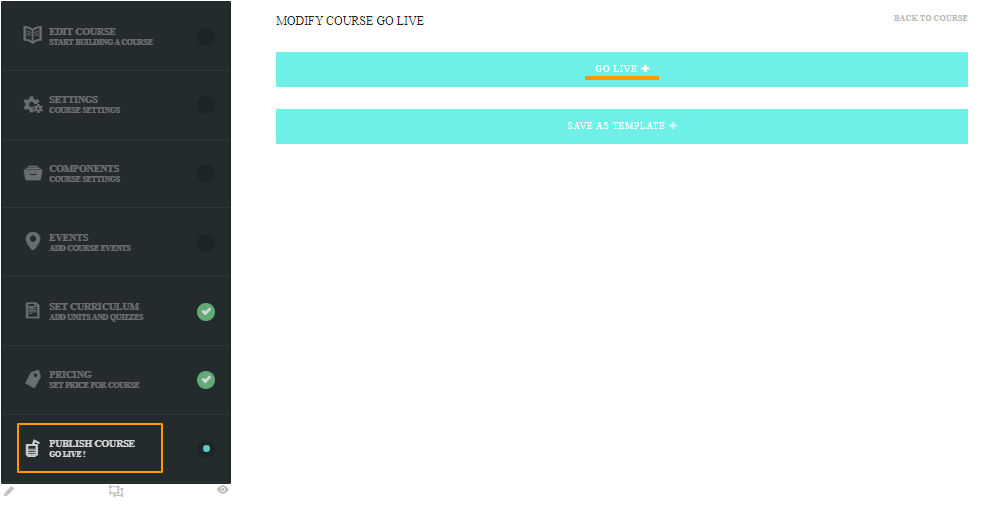
- The last step is to Publish the Course. Click on Go Live and your course will be published. Also, you can save this course as a template.

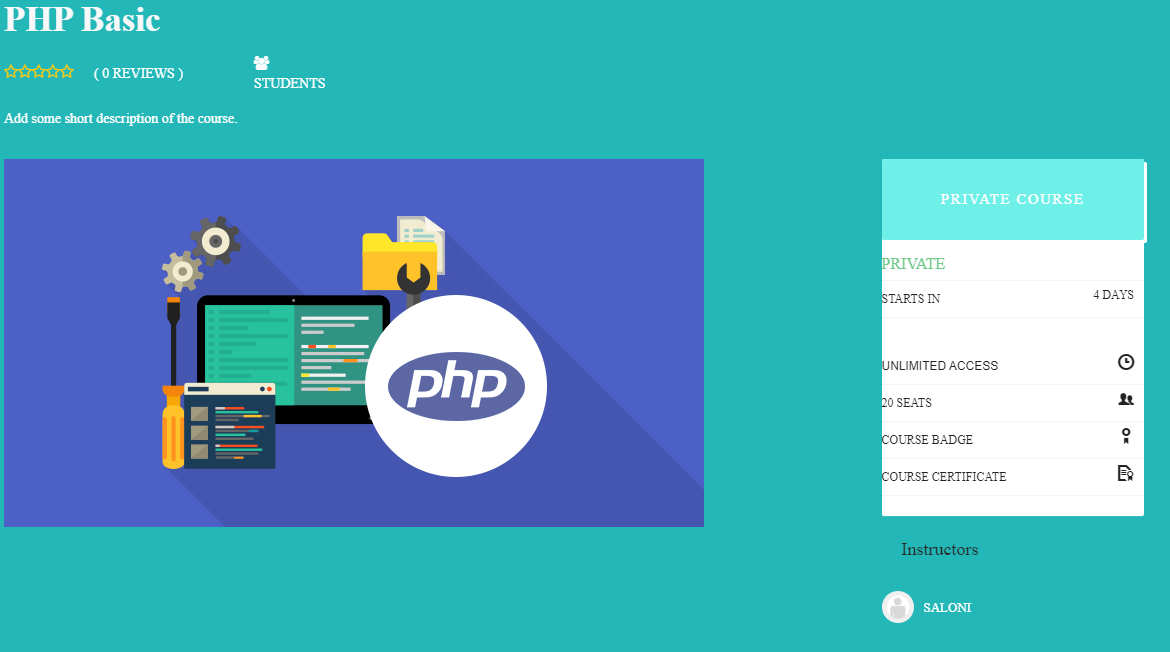
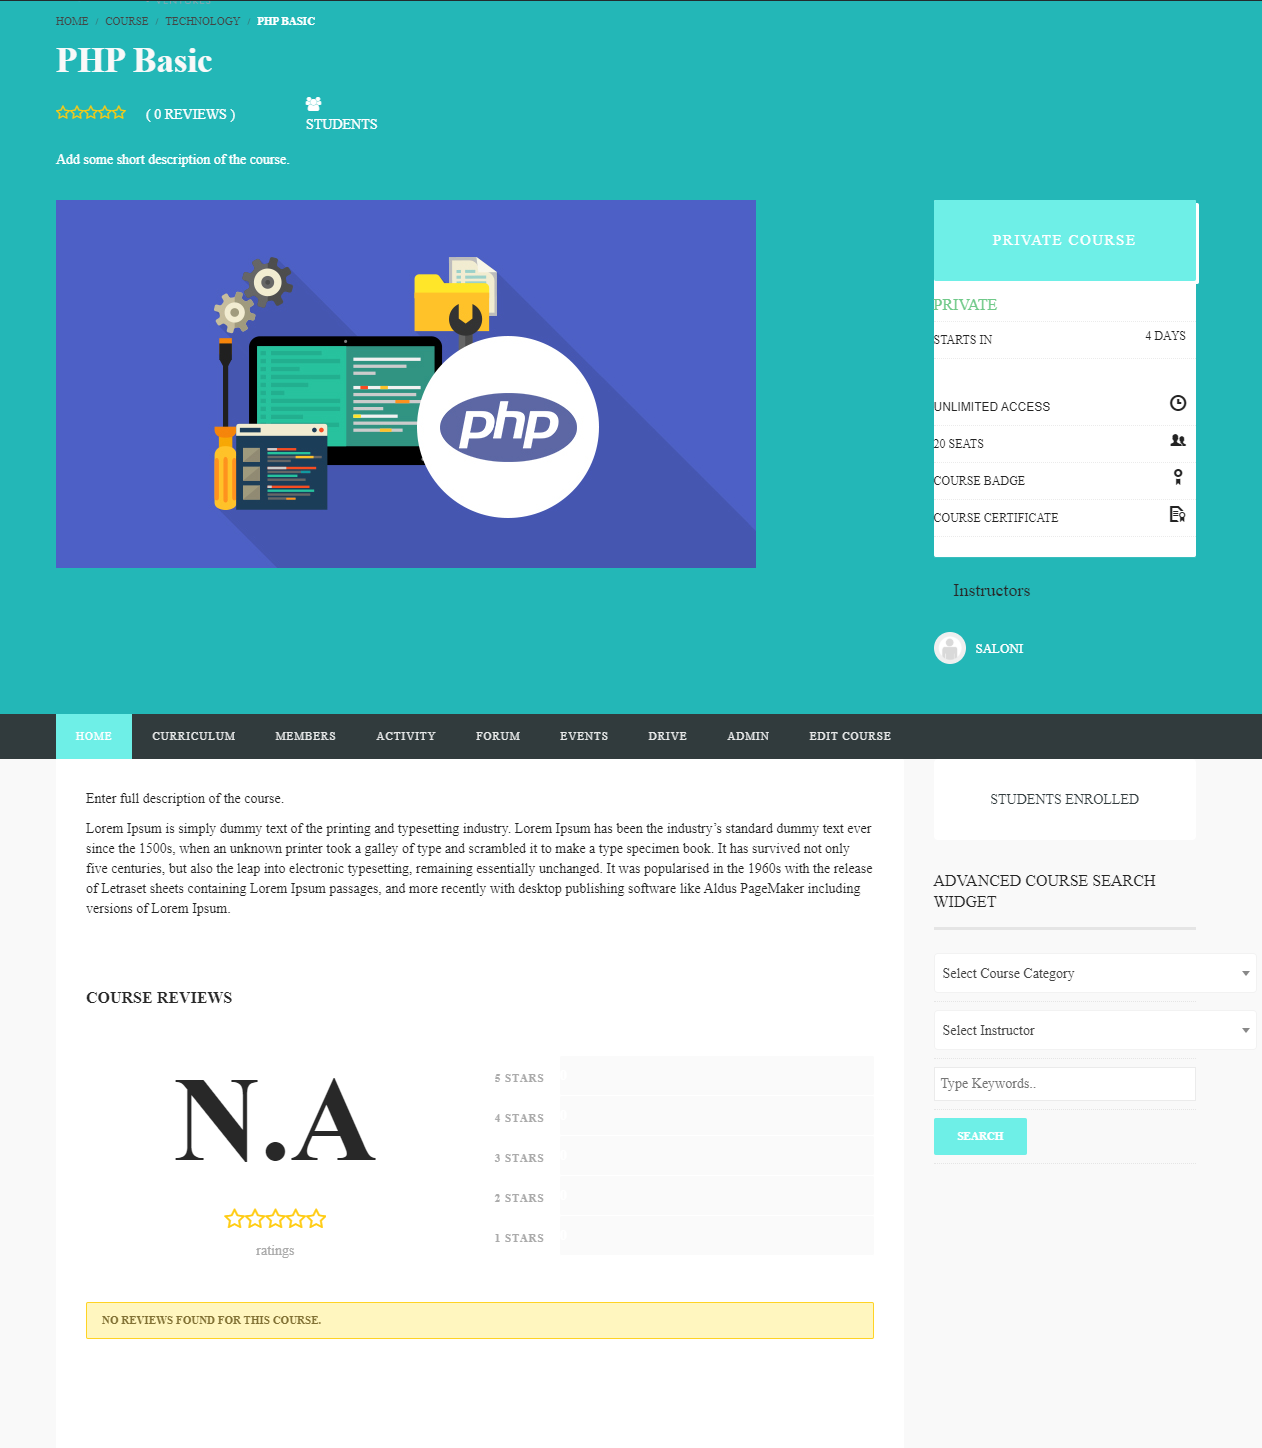
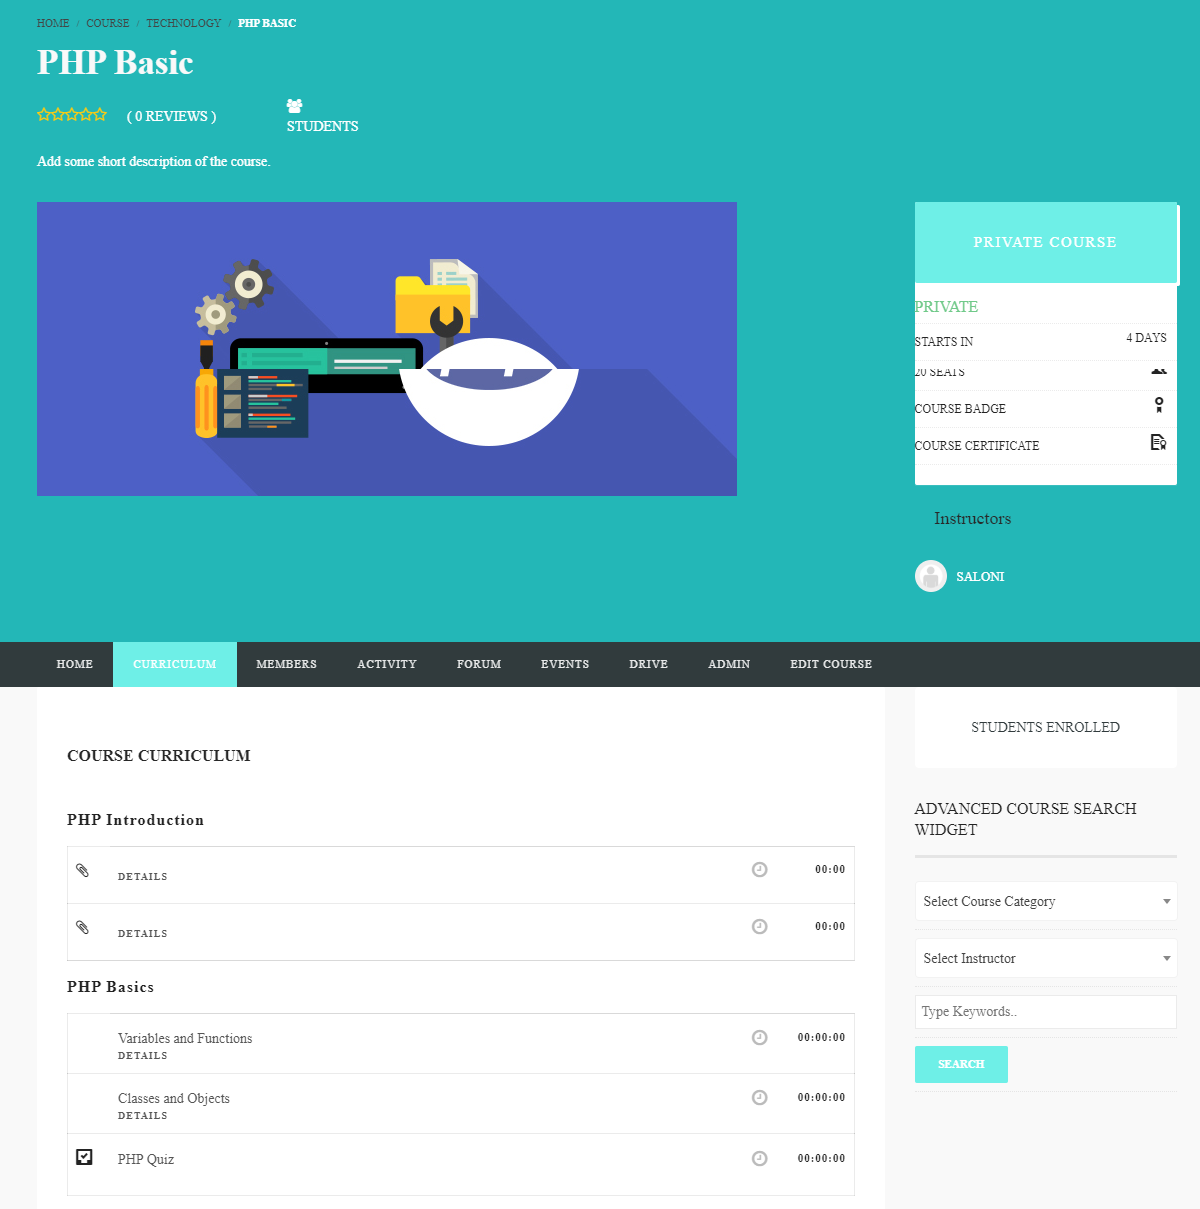
- And the published course will look like this.


