Introduction
We can install wordpress by three ways. Below two ways we are going to discuss in this tutorial
- Using Installation wizard
- By manually modifying wp-config file
Step 1: Create database for wordpress
Before installing the wordpress first you need to create the database for wordpress so first create the database on your localhost (In this tutorial I have used xampp)
Follow the below steps to create the database and database user
- Start your control panel and go to phpmyadmin
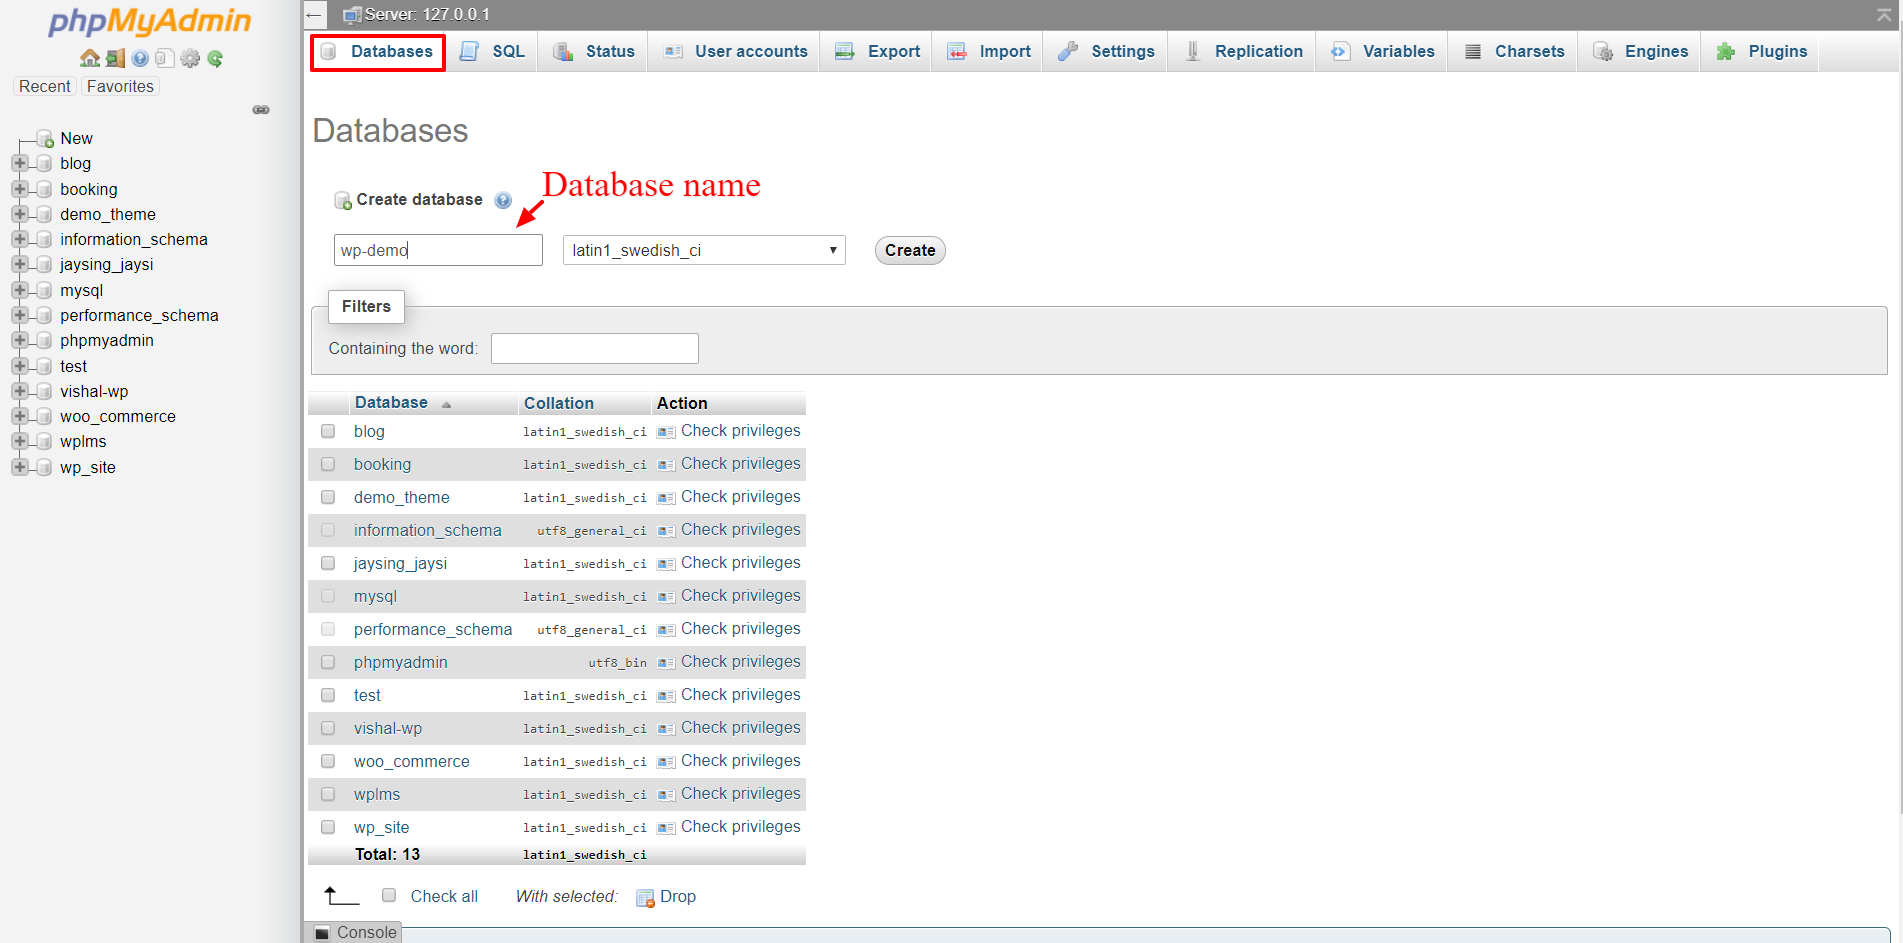
- Click on database and create new database

- Add new user to the database with all privileges
-
- First select the database then go to privileges tab and click on add new user

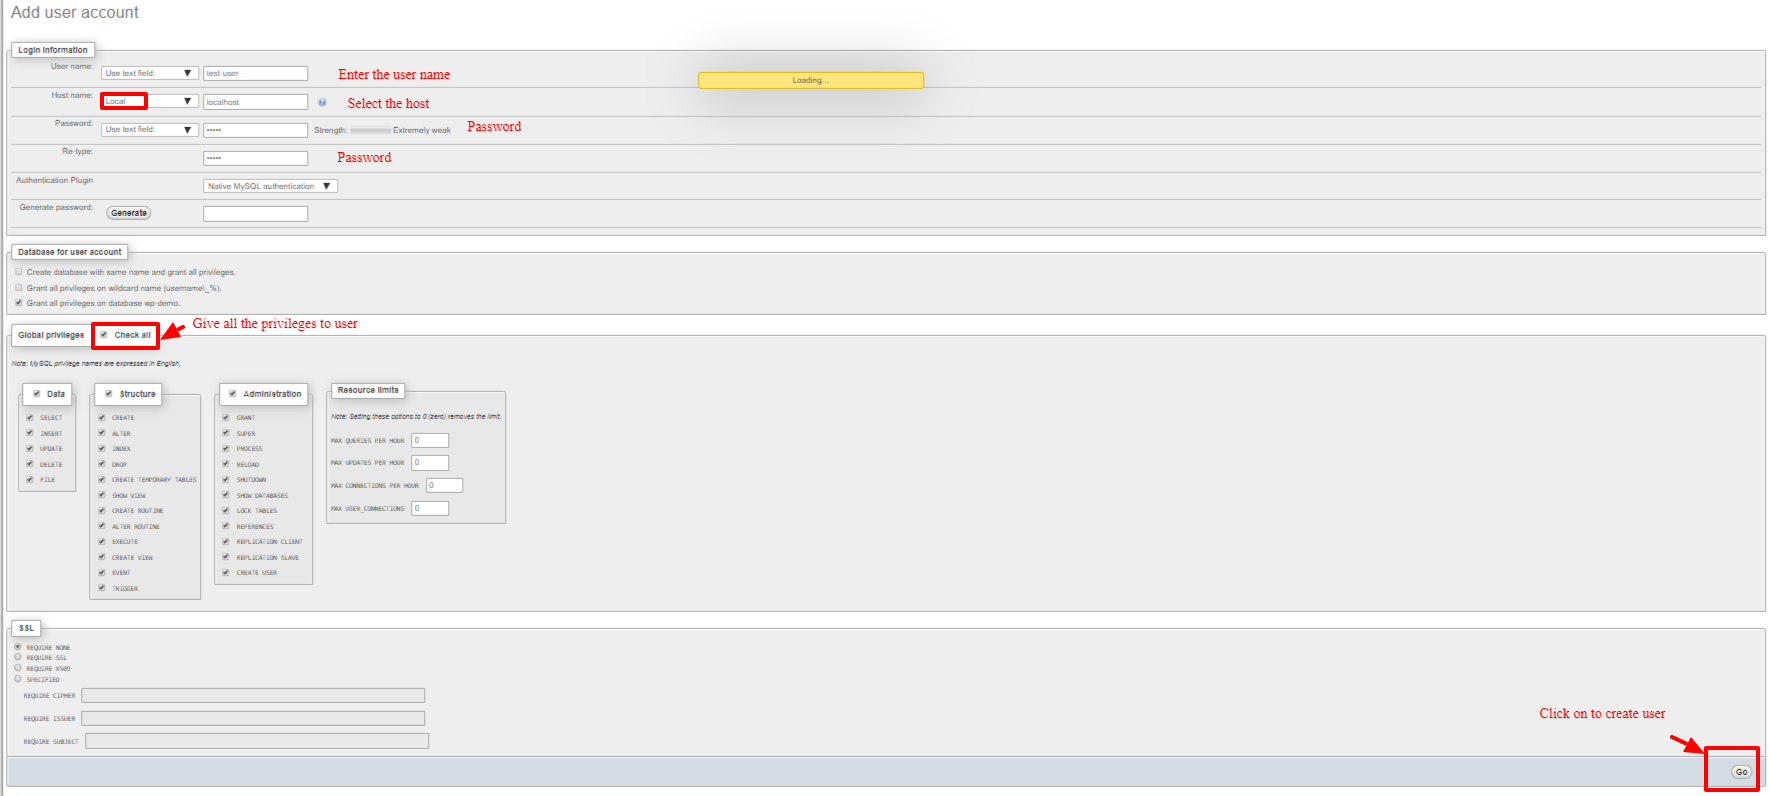
- Enter the user details if you are installing wordpress on your local server then select host name as local and give all privileges to user.

- First select the database then go to privileges tab and click on add new user
Step 2: installing wordpress
-
Method-1 : By using installation Wizard
- Download the WordPress package from https://wordpress.org/download/
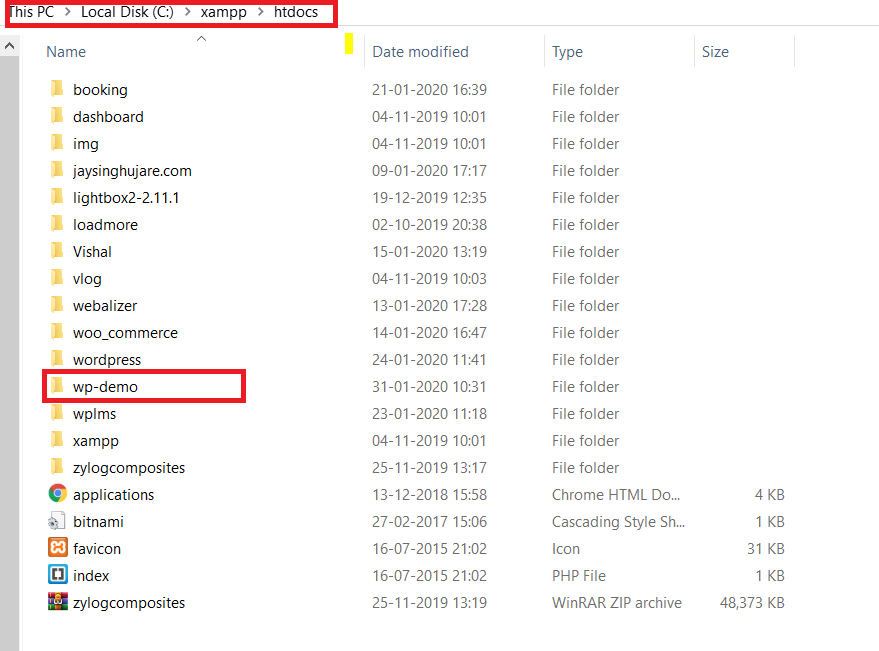
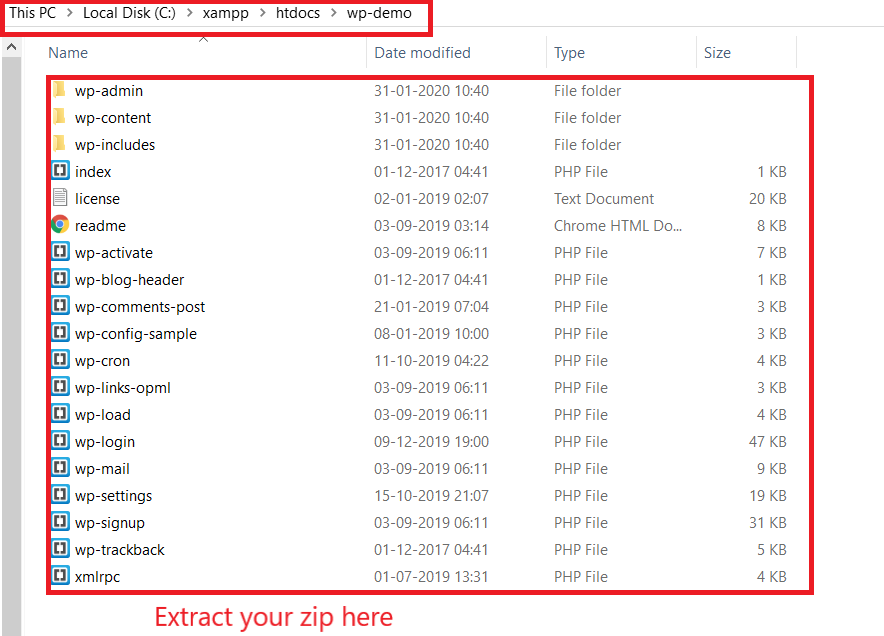
- Create the folder for your project in the xampphtdocs and unzip the wordpress package in it.


- Go to your browser and type the URL of your project (In my case it is http://localhost/wp-demo) make sure your xampp server is start.
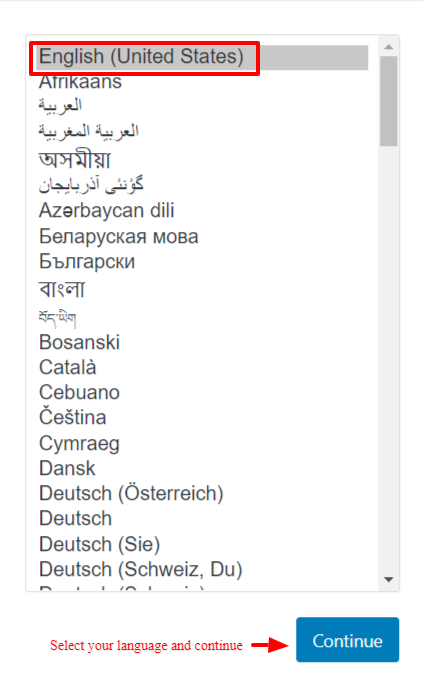
When access your project you will be redirected to the your setup-config.php - Setup your wordpress language

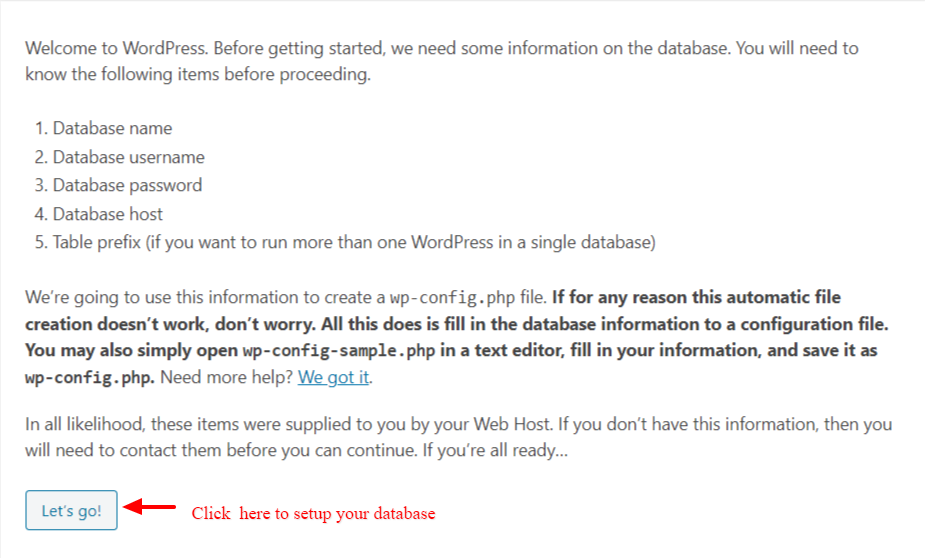
- Set up your database setting
- Database name which you created on your local server
- UserName: which has all the privileges for database
- Password
- Database host
- Table prefix : if you want to install the multiple wordpress using a single database you have to change the prefix for new wordpress installation.

- Run the installation

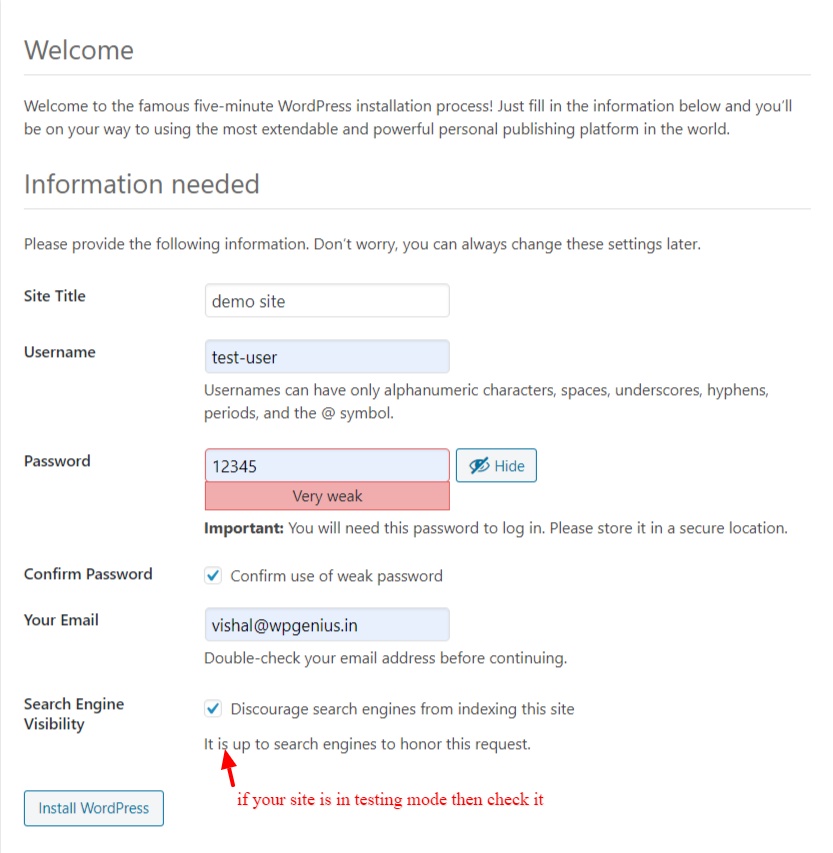
- Site information setup
- Site Title : Give here site title
- UserName: it should be same as database username
- Password
- Your mail ID
- Search engine visibility : if your site is in testing mode then check. It will stop indexing your site.
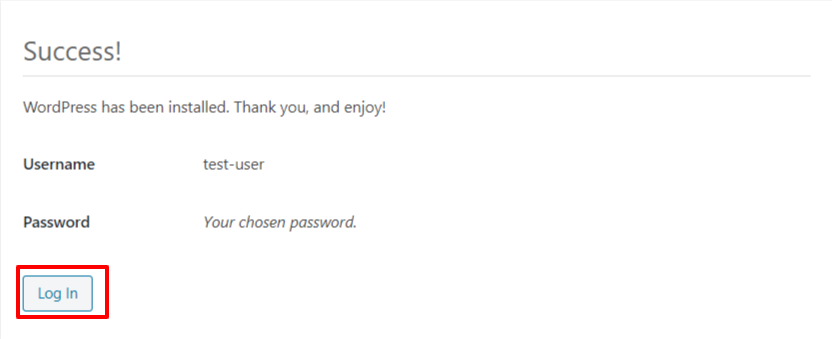
- After above setting install wordpress

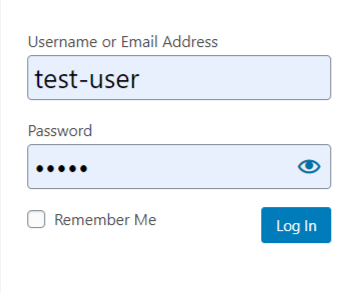
- Login to your wordpress


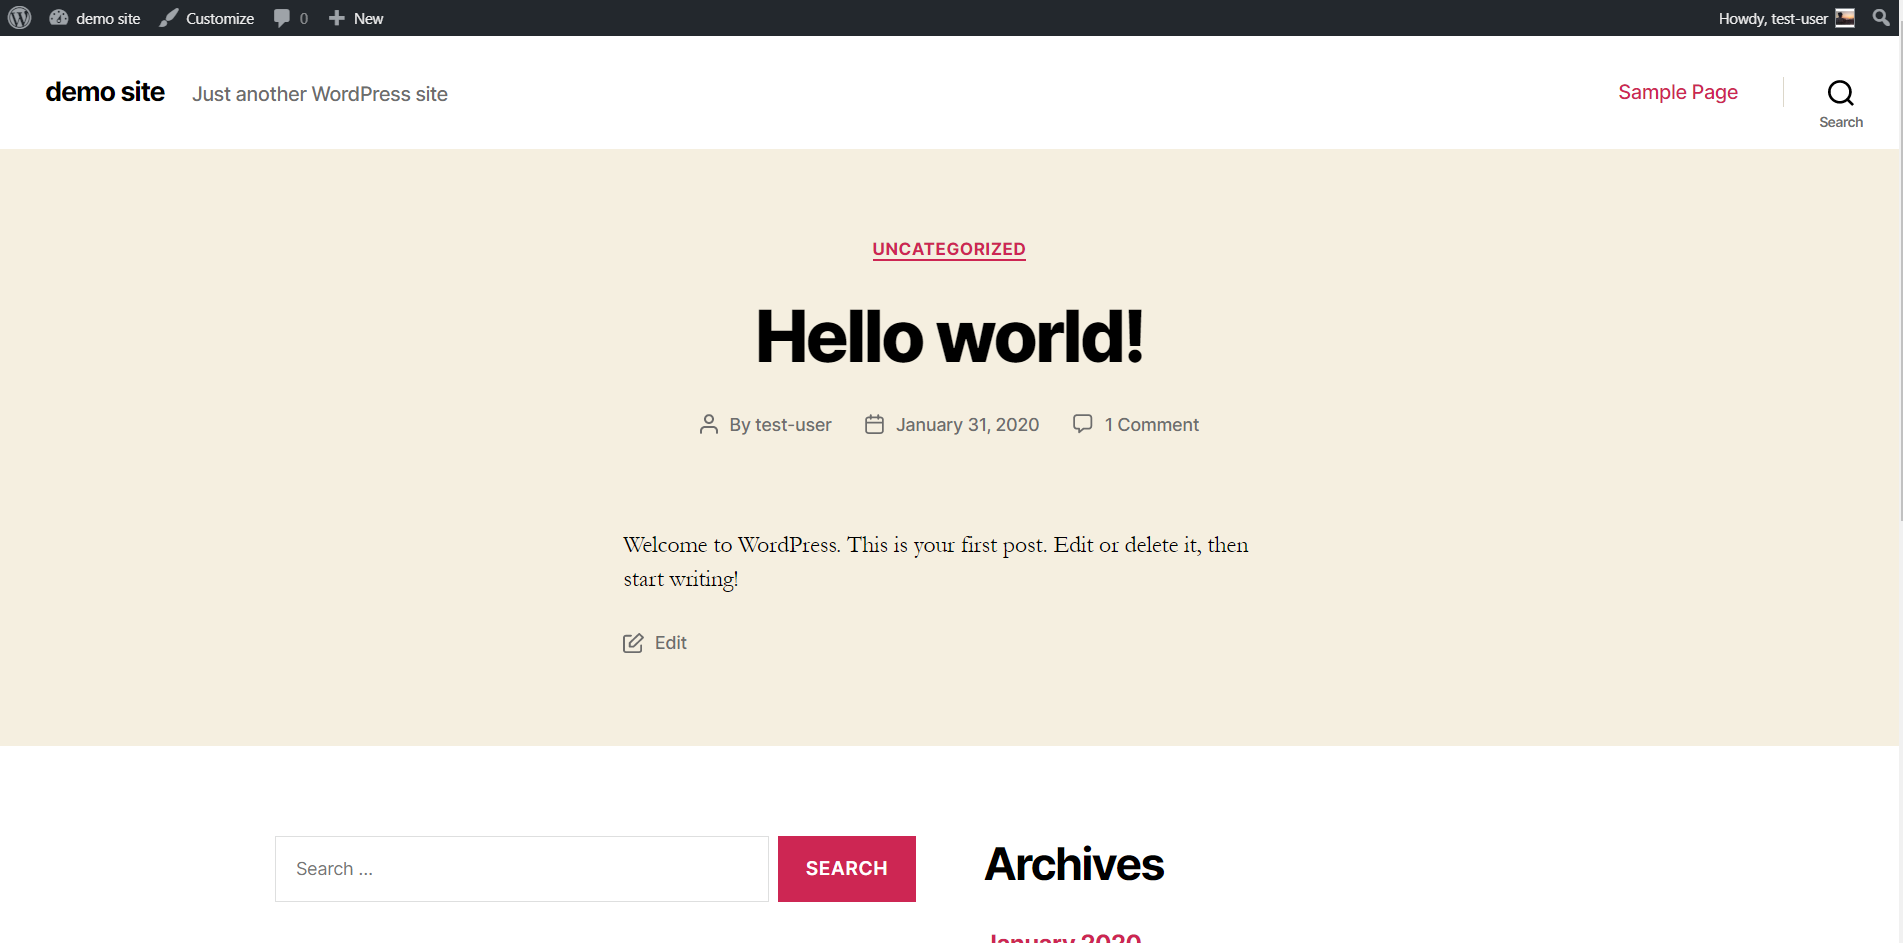
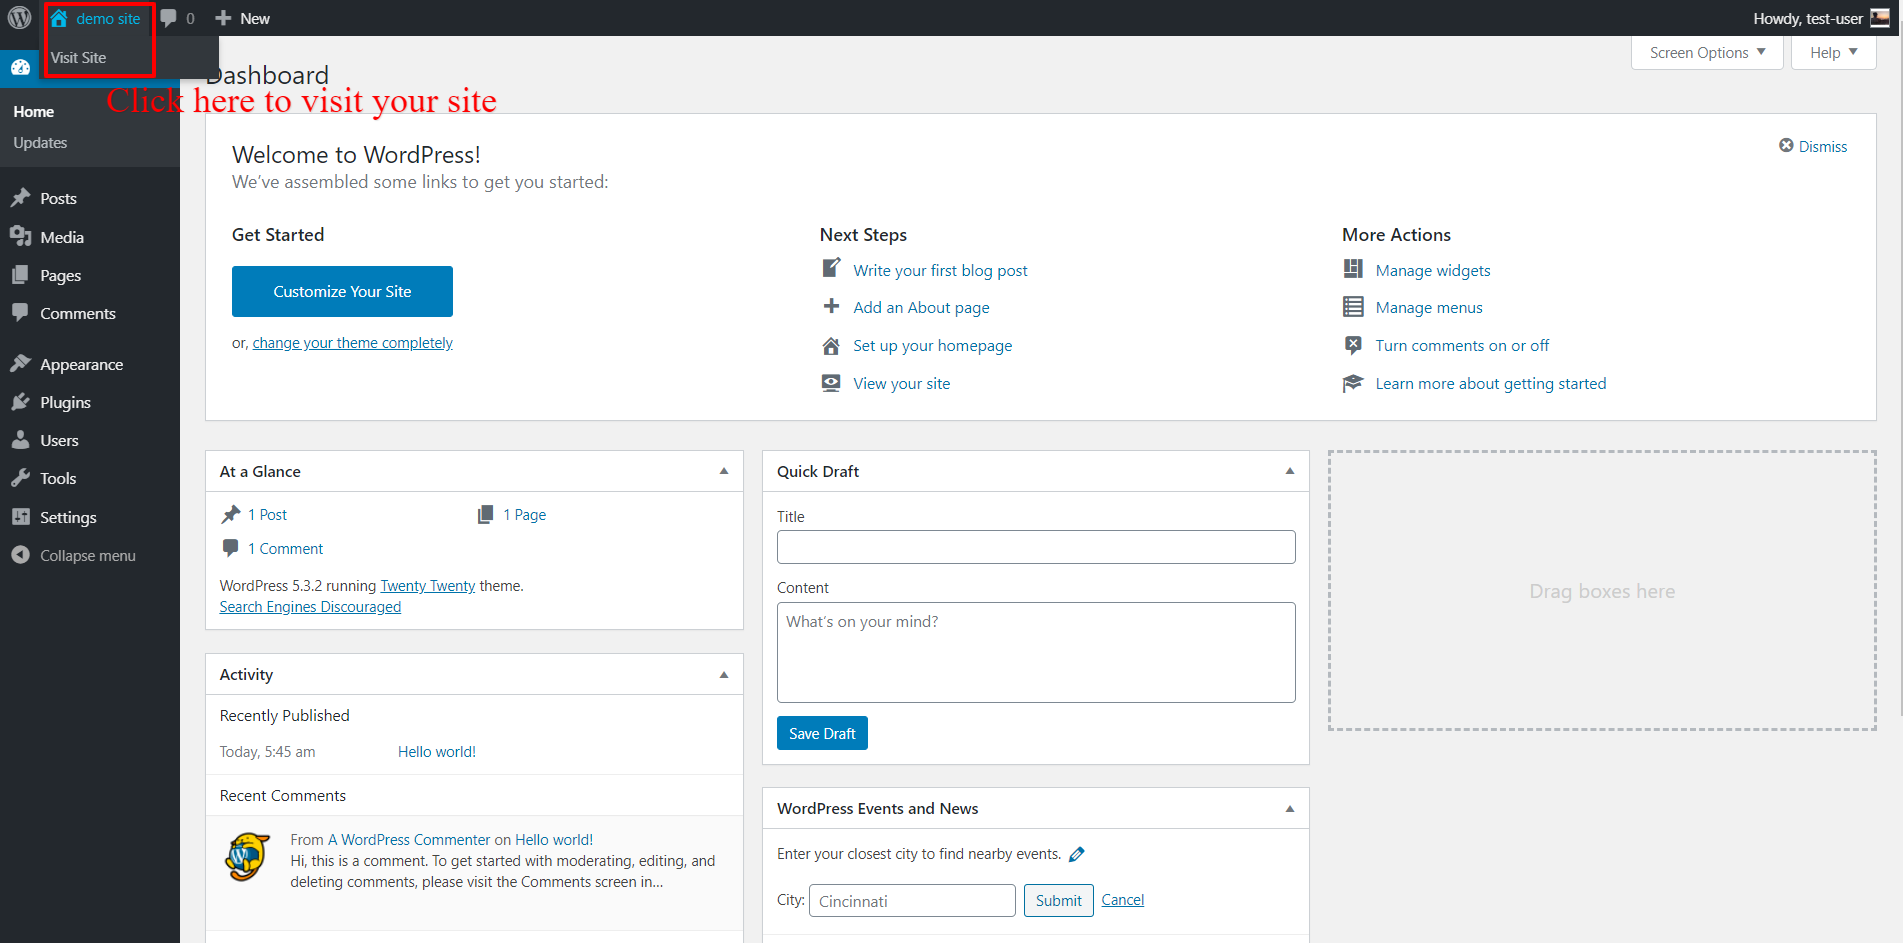
- Visit your site

 All done now you can visit your site by clicking on site name
-
Method-2 : installing wordpress by manually modifying wp-config.php
-
Create Database of wordpress installation
Follow the step 1 to create the database
-
installing wordpress by manually modifying wp-config.php
- Download the WordPress package from https://wordpress.org/download/
- Create the folder for your project in the xampphtdocs and unzip the wordpress package in it.
- Copy-paste the “ wp-config-sample.php” at same location and rename the copied file to “wp-config.php’ you can find wp-config.php at location : xampphtdocswp-demo2
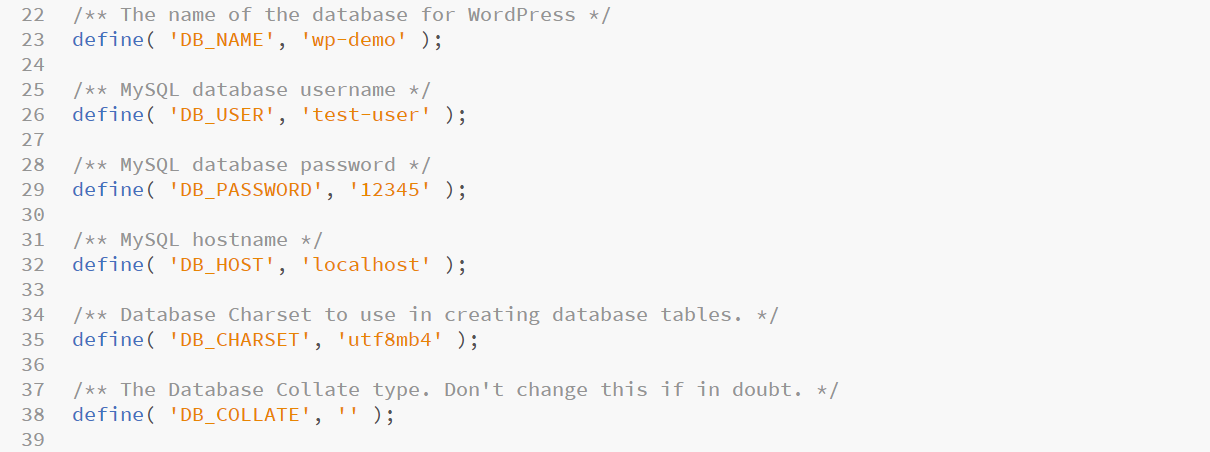
- wp-config.php for edit
- DB_NAME : Enter your database name here
- DB_USER: Database user which has all privileges for database
- DB_HOST : Host name
- DB_CHARSET : No need to change
- DB_COLLATE: NO need to change

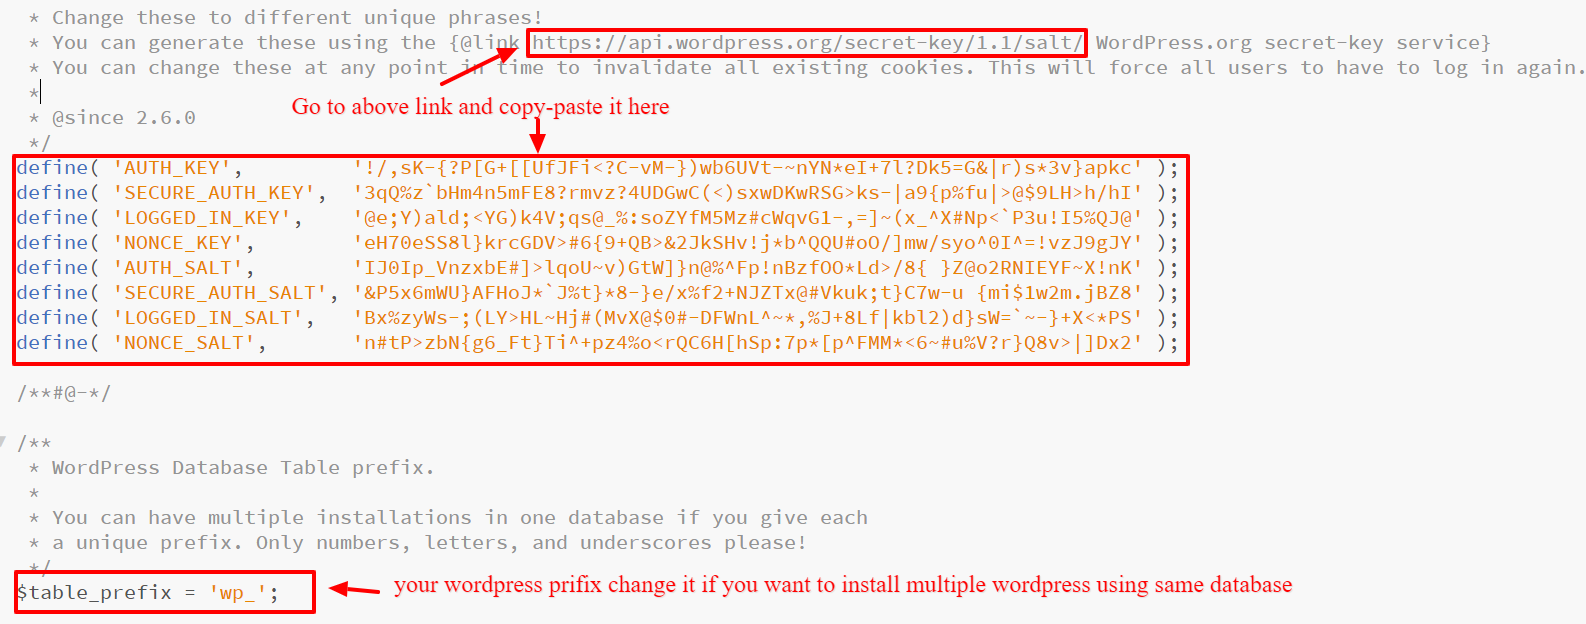
Next go to the highlighted link copy paste the unique phrases from there and paste in your file (You should overwrite it on sample phrases)
- Go to your browser and type the URL of your project in my case it is (http://localhost/wp-demo) make sure your xampp server is start.
When access your project you will be redirected to the your setup-config.php - Setup your wordpress language

- Site information setup
- Site Title : Give here site title
- UserName: it should be same as database username
- Password
- Your mail ID
- Search engine visibility : if your site is in testing mode then check. It will stop indexing your site.
- After above setting install wordpress

-
-
- Visit your site
All done now you can visit your site by clicking on site name


- Visit your site
Conclusion
In this tutorial we have seen the installation of the wordpress by 2 ways using setup wizard and by manually modifying wp-config.php file

