Introduction
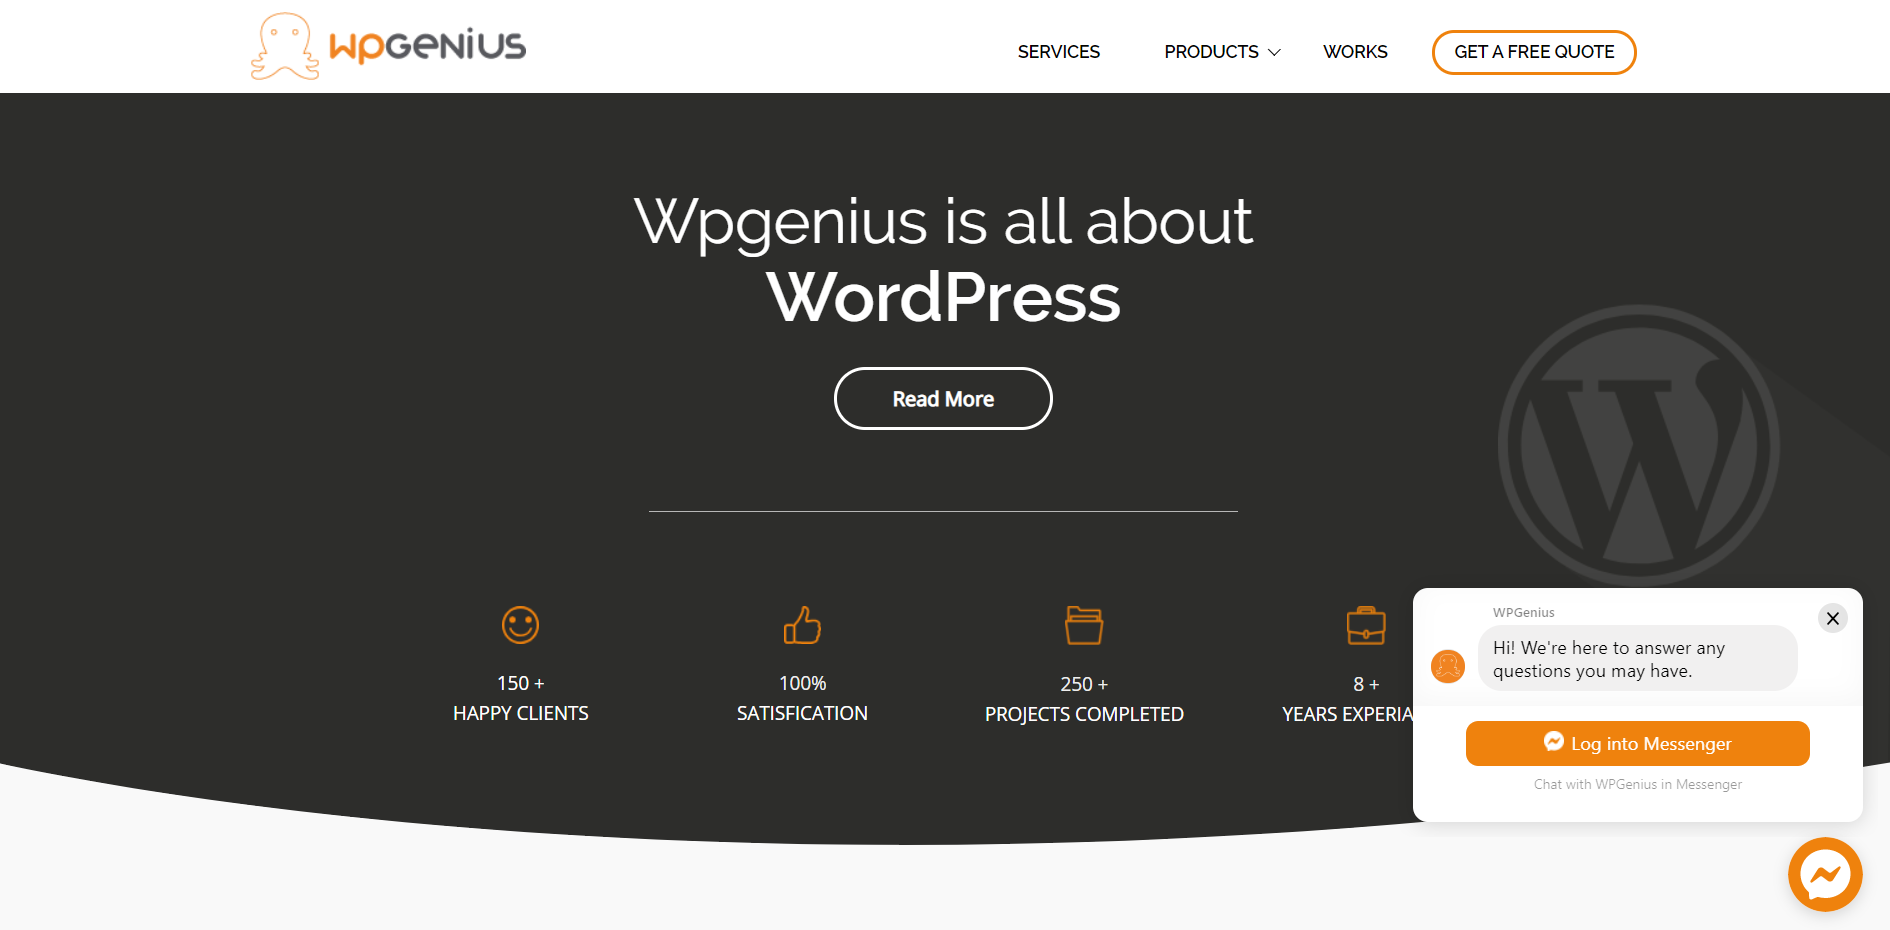
Messenger Customer Chat plugin is used to add the facebook messenger to your site. Using this your customer can directly interact with you with the same experience that they get in the facebook messenger. Customer chat plugin shows the floating messenger button on site. You can customize its icon also it automatically loads the chats history once you login to your facebook. In this tutorial we will see how to add the facebook messenger in your site using customer chat plugin. Also it generates the HTMl and javascript code.
Steps to add the Facebook Messenger to your site:
-
Install Plugin
First you need to install the “MessengerCustomer chat” plugin to your site

-
Setup your plugin
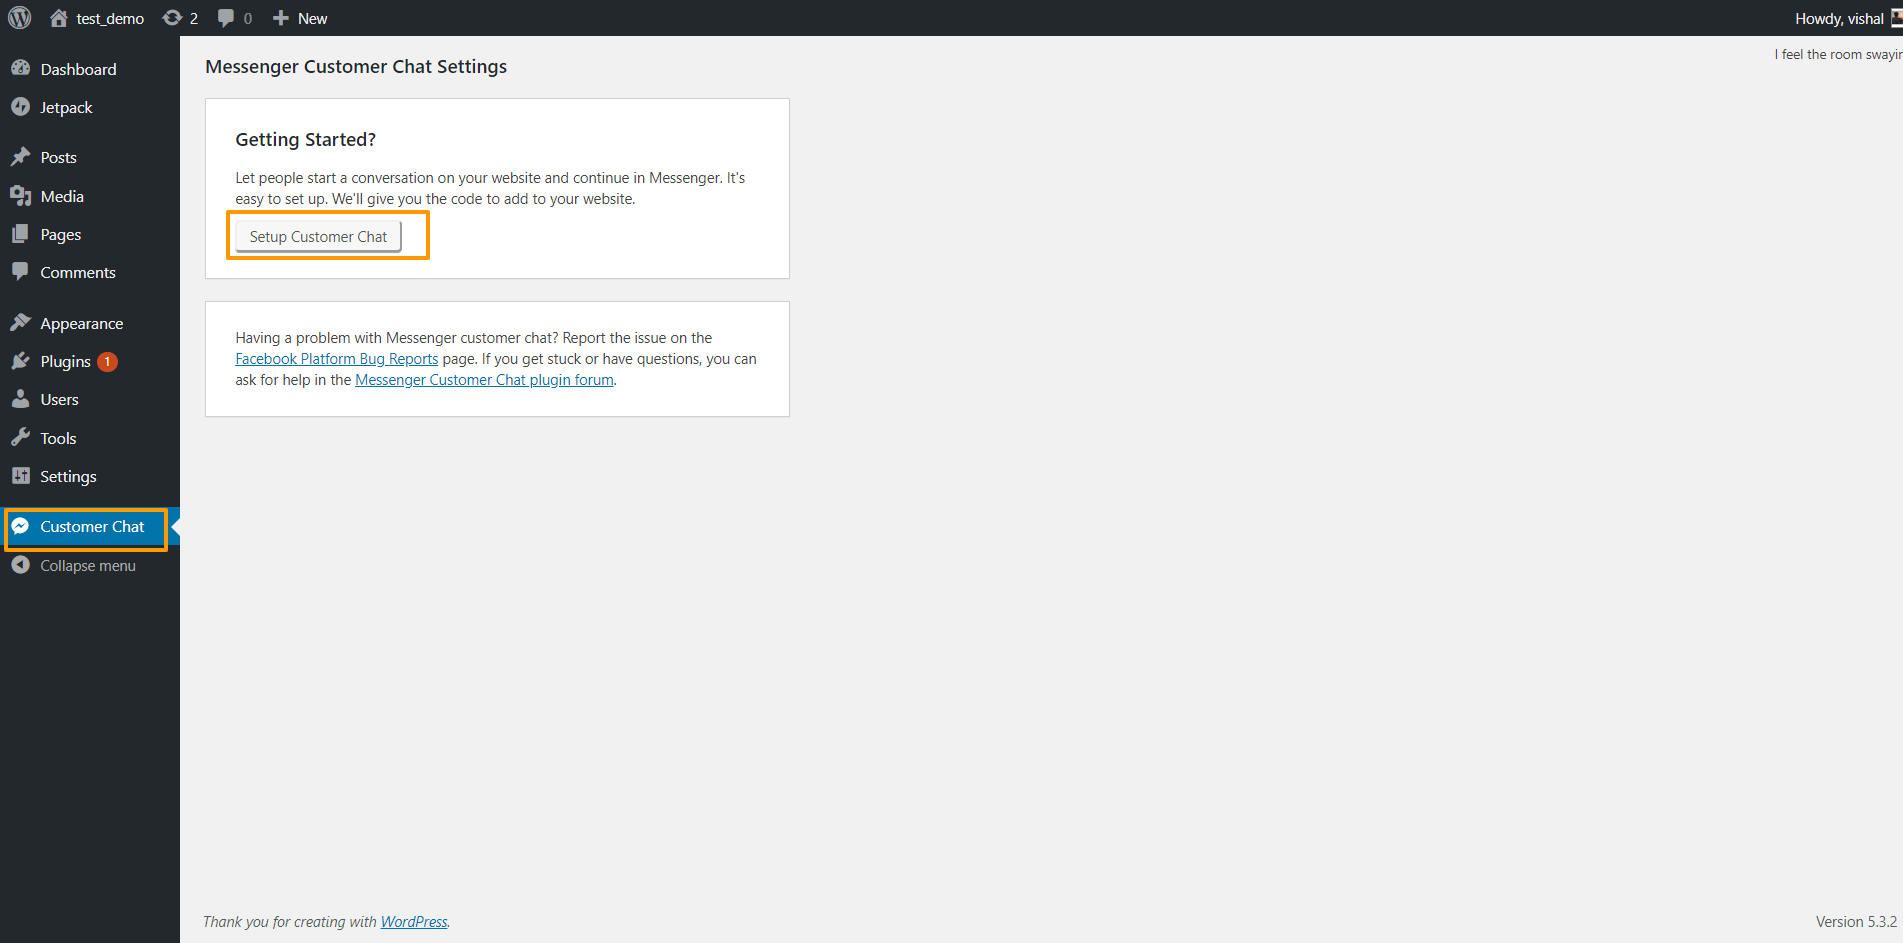
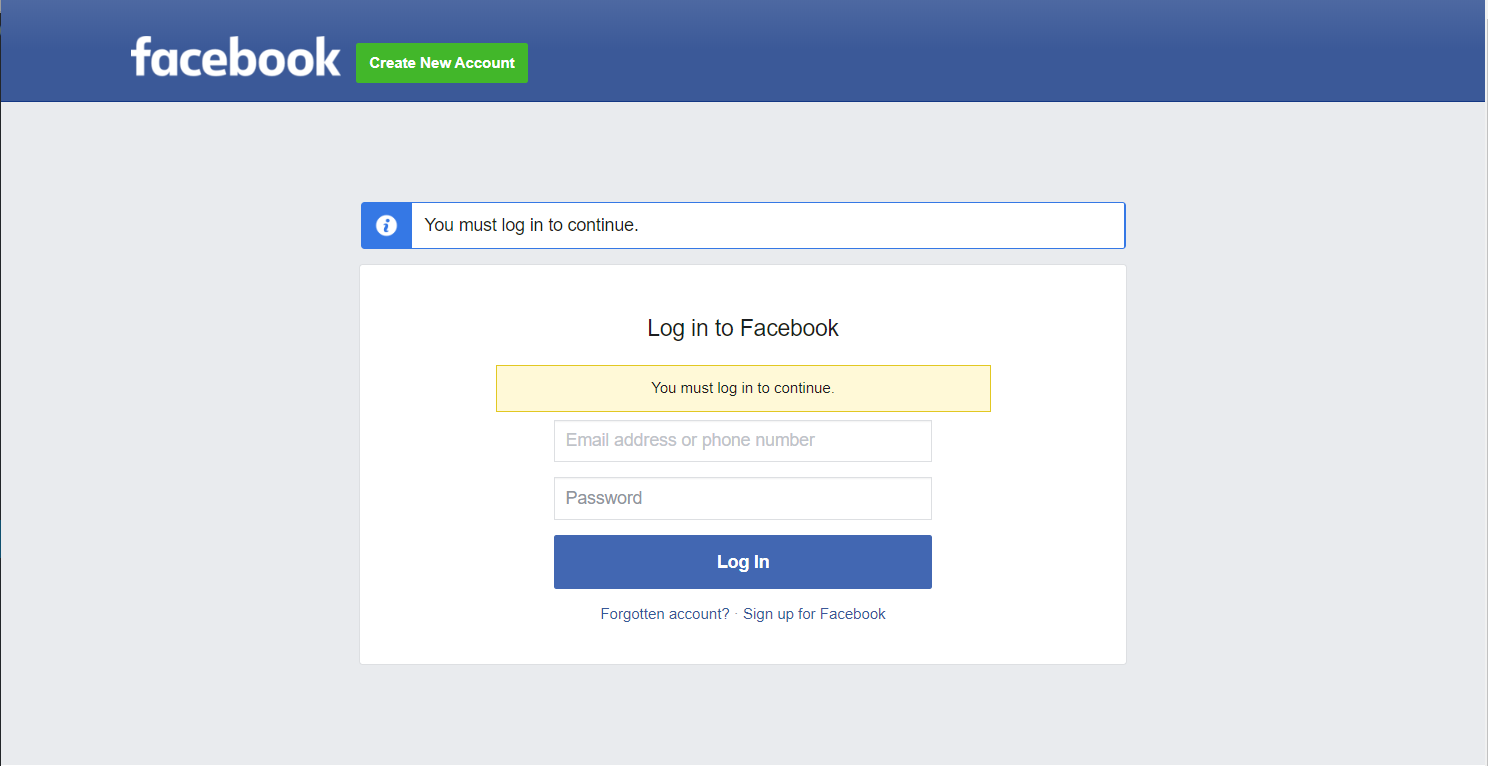
- Go to the plugin setup and click on setup customer chat button and in popup window login with your facebook account.


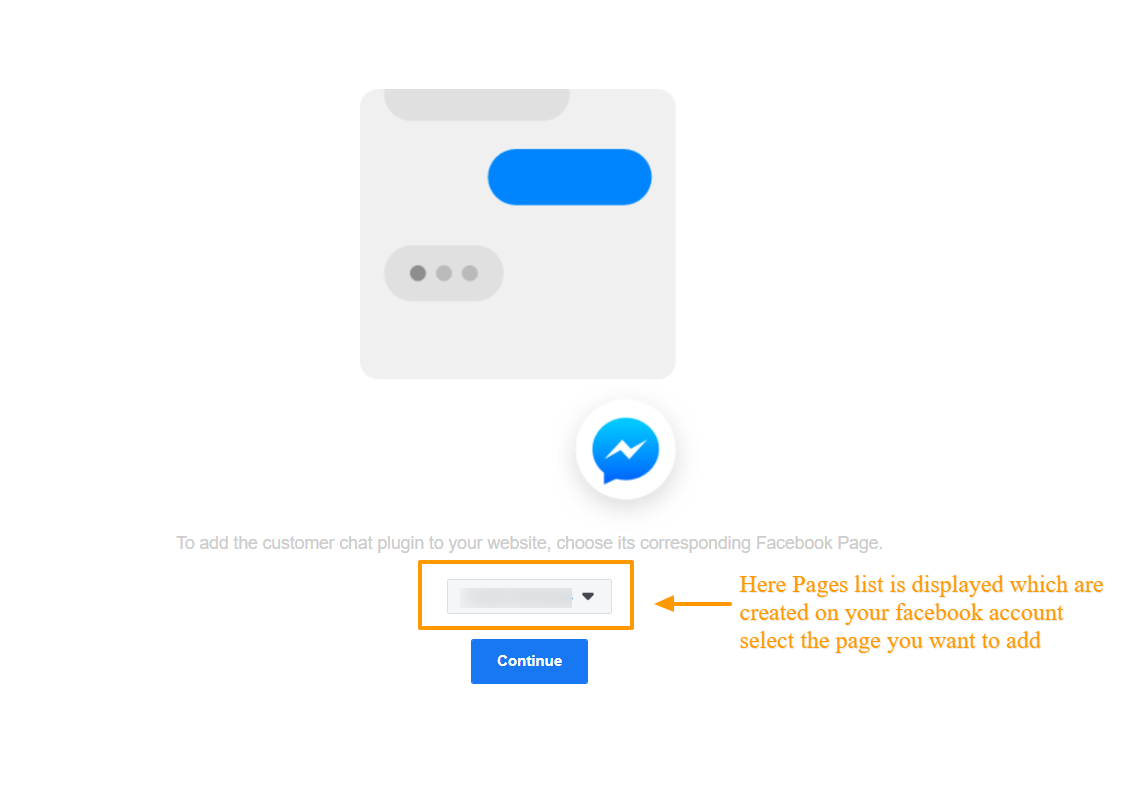
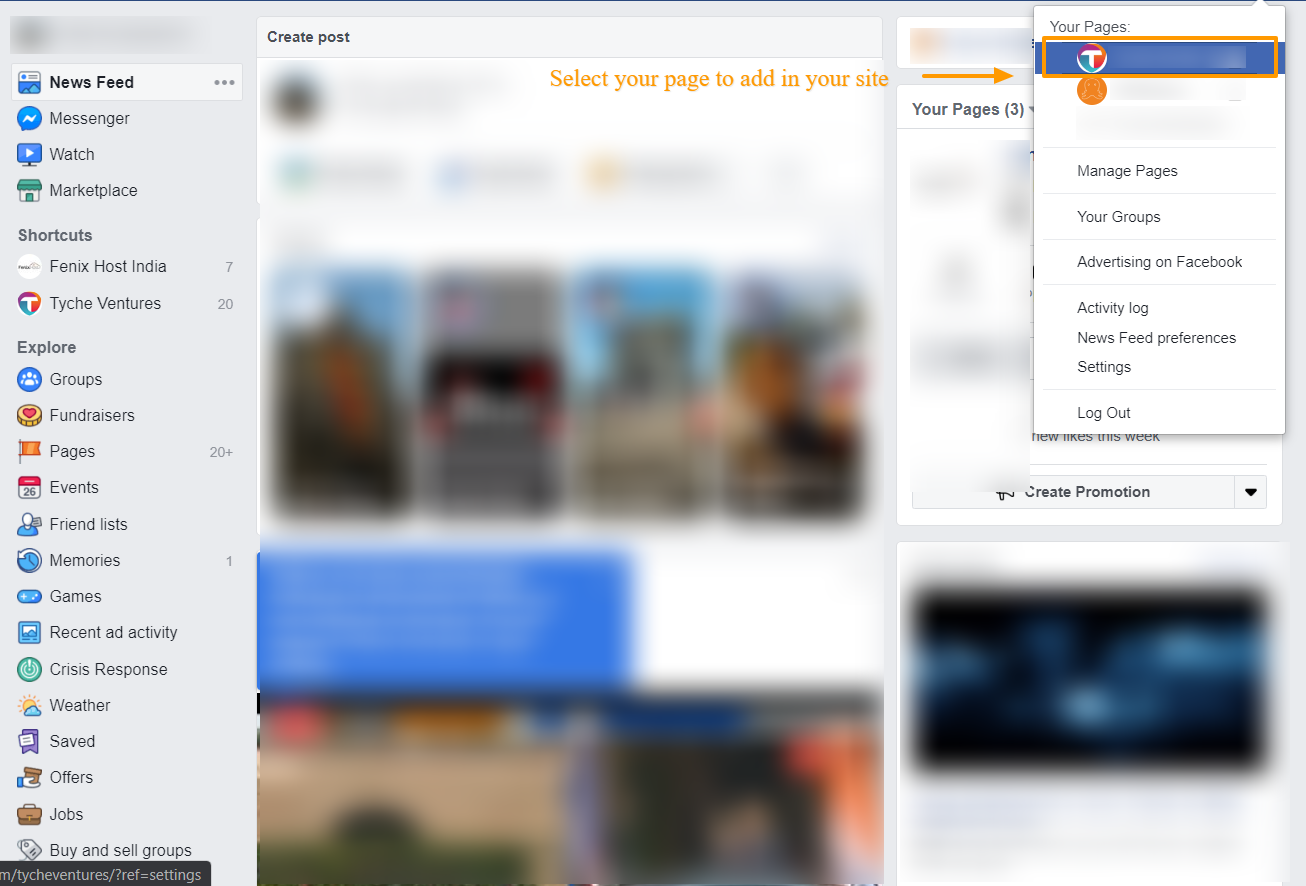
- Select the page from your account which you want to add to site (Note: Your facebook account should have the page to add your site. If not first create the page of your business on facebook)

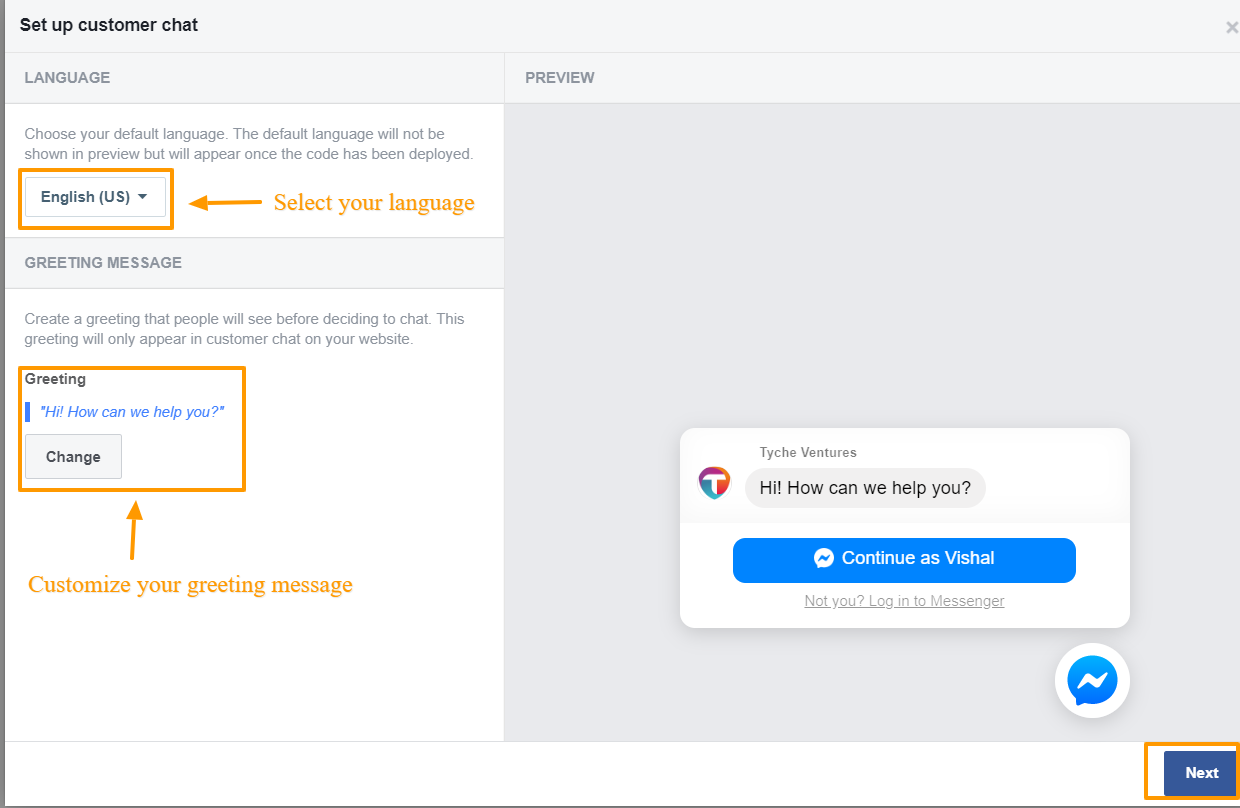
- Select language and also you can customize your greeting

- Setup of appearance of messenger button. In this step you can customize the color of the your icon according to your site theme. Do the setting and save changes.

- Save change and click on done
- Go to the plugin setup and click on setup customer chat button and in popup window login with your facebook account.
-
Add the domain to your facebook account
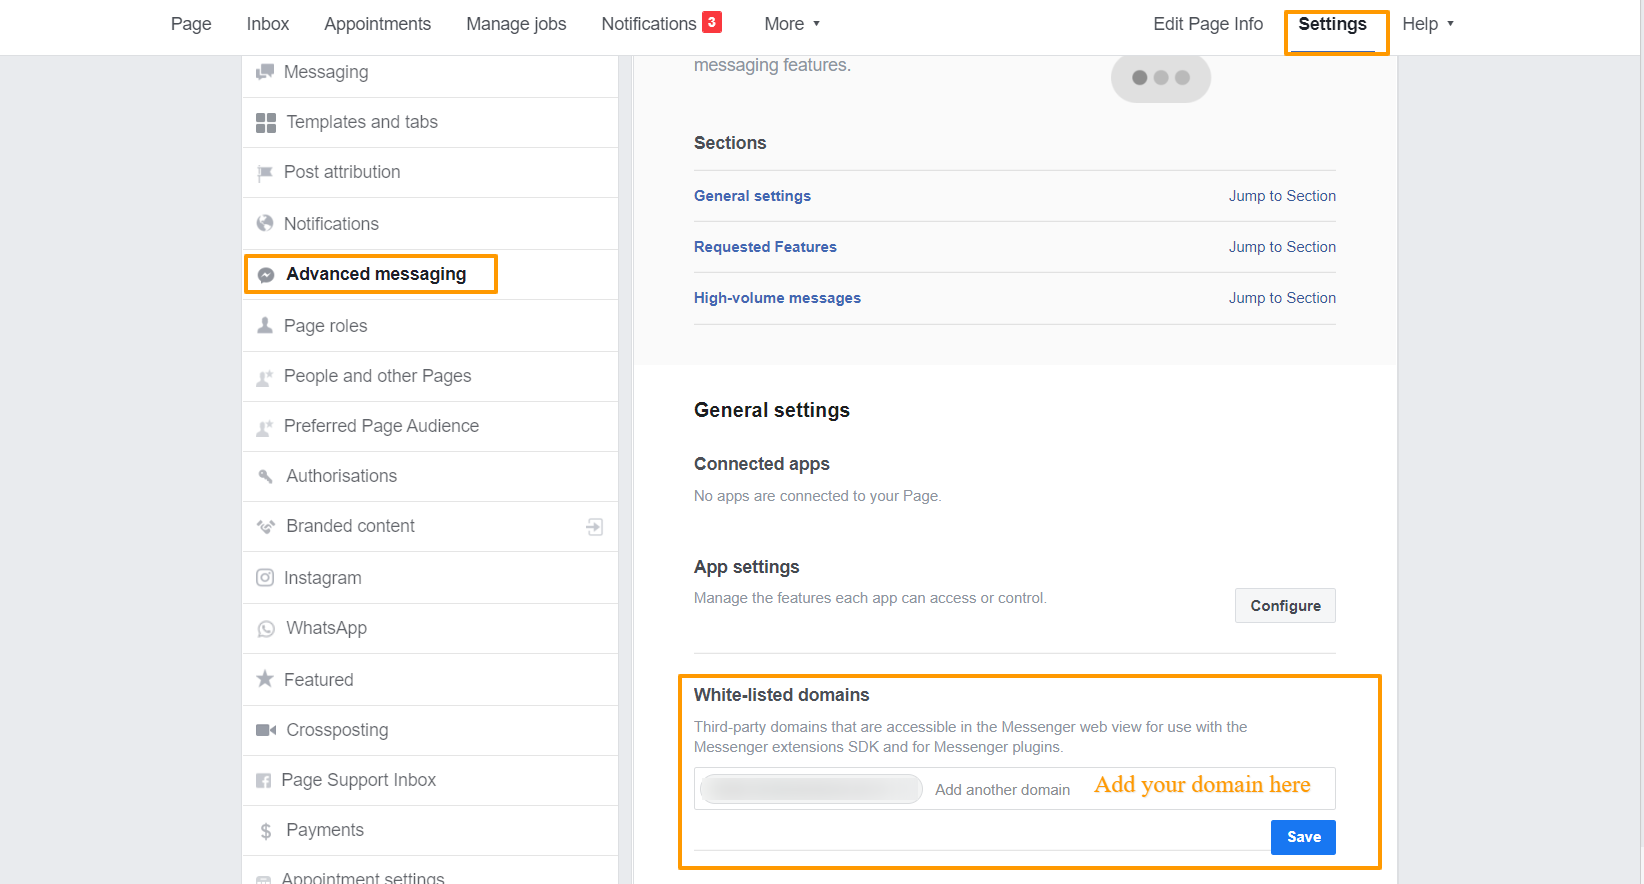
- Login to your facebook account and go to the your page setting

- Select the advanced messaging in that In white listed domain add your site domain and save change

- Login to your facebook account and go to the your page setting
-
Save the changes. Now to can see the messenger on your site.

