Contact Form 7 doesn’t store submitted messages anywhere. Therefore, you may lose important messages forever if your mail server has issues or you make a mistake in mail configuration.
To store submitted information, there exist two plugins:
- Contact Form 7 Database Addon (CFDB7)
- Flamingo
Contact Form 7 Database Addon (CFDB7)
Contact Form 7 Database Addon (CFDB7) saves the Contact Form 7 submissions to the WordPress database. You do not have to configure the Contact Form 7 Database Addon at all. You simply need to install the plugin, and it automatically begins storing all the form submissions from the submissions.
Steps included:
1. Login to your WordPress Administration window.
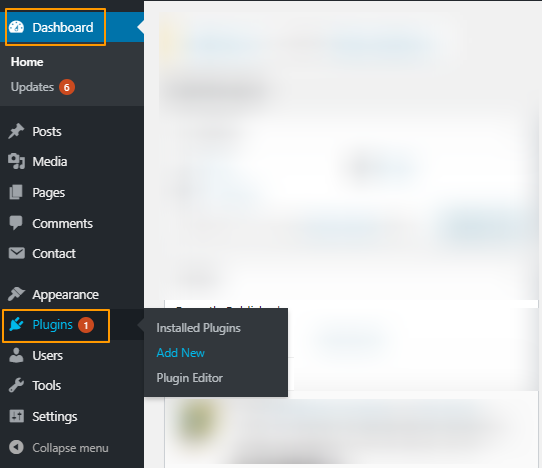
2. Go to Dashboard >> Plugins >> Add New.
3. In the search box search the plugin ‘Contact Form 7 Database Addon’. Install and Activate the plugin.

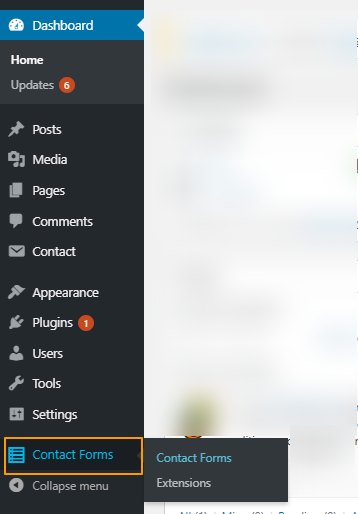
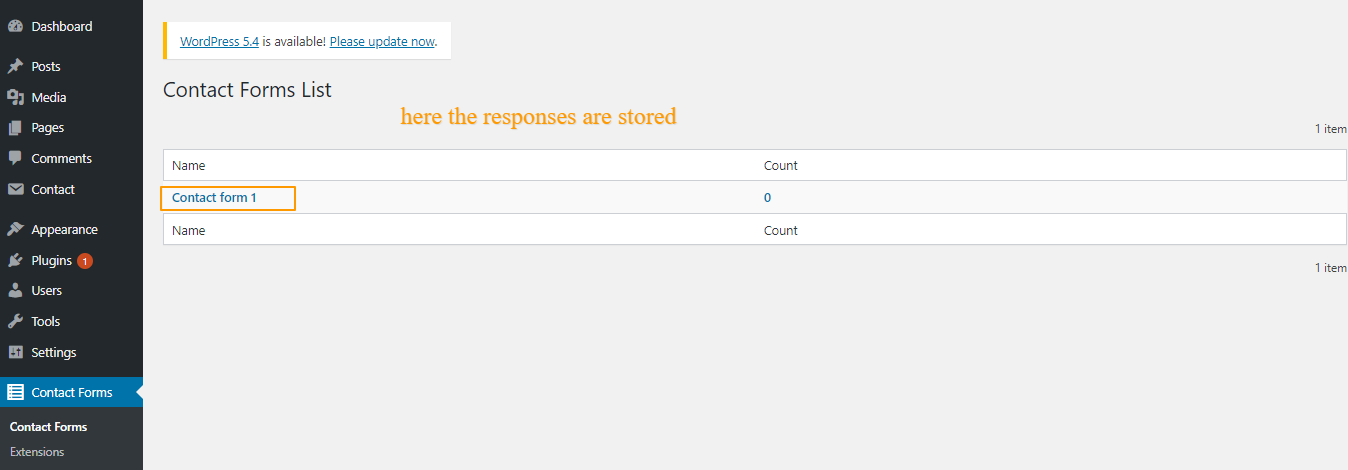
4. Then click on the ‘Contact Forms’ link present at the left-hand side. This is where the responses will be listed.
5. Let’s create a new contact form using contact form 7. To know how to create a contact form using contact form 7 plugin, click here.
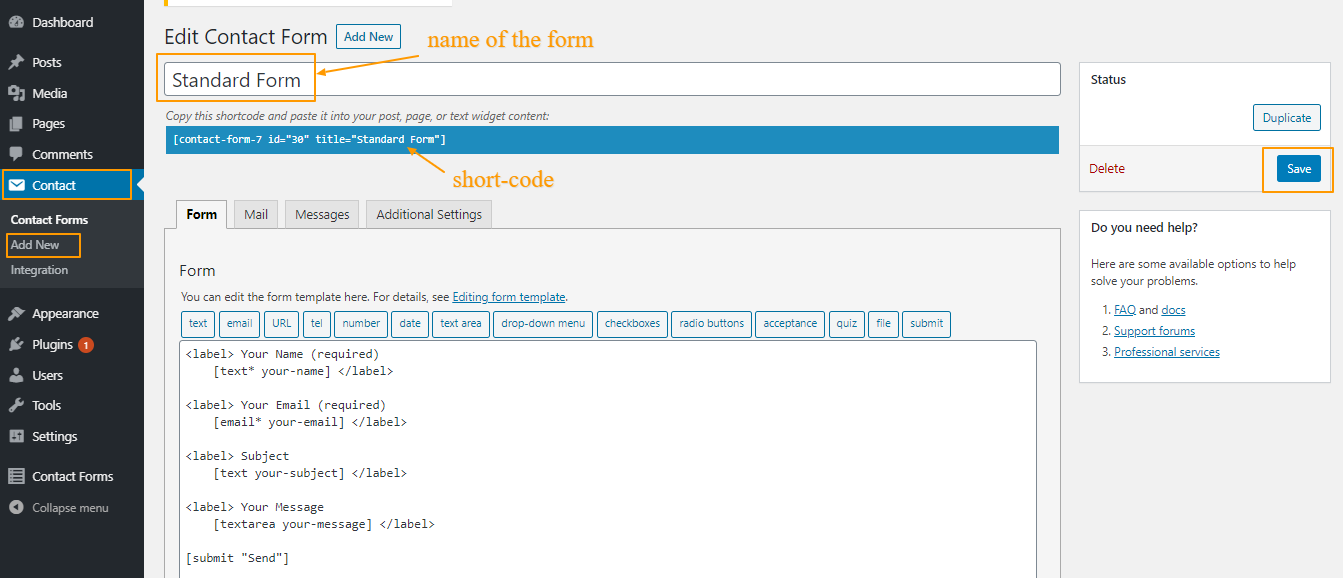
6. In this form, I have kept only the default elements.
7. Copy the shortcode over here and add the shortcode to a page and publish that page.
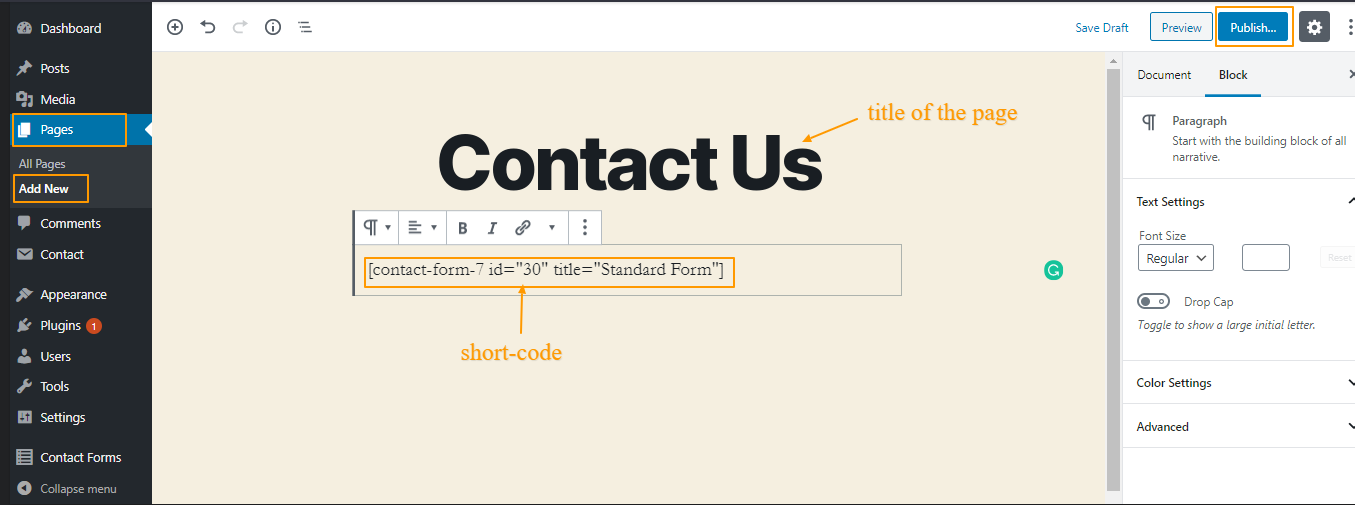
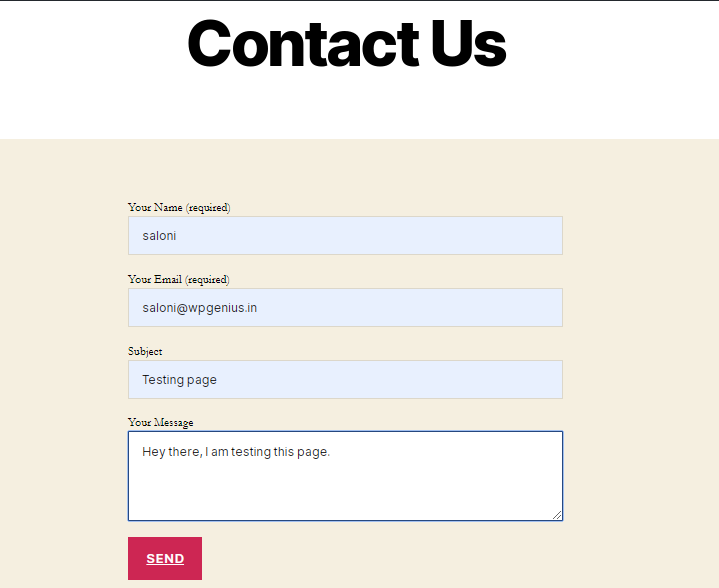
8. Click on the View Page link and view the page. You will see a contact form over there.
9. Fill all the details in the form and submit the form.
10. Now the submitted data should also be available on the plugin page. Go to the Contact Forms link and the response count listed here.
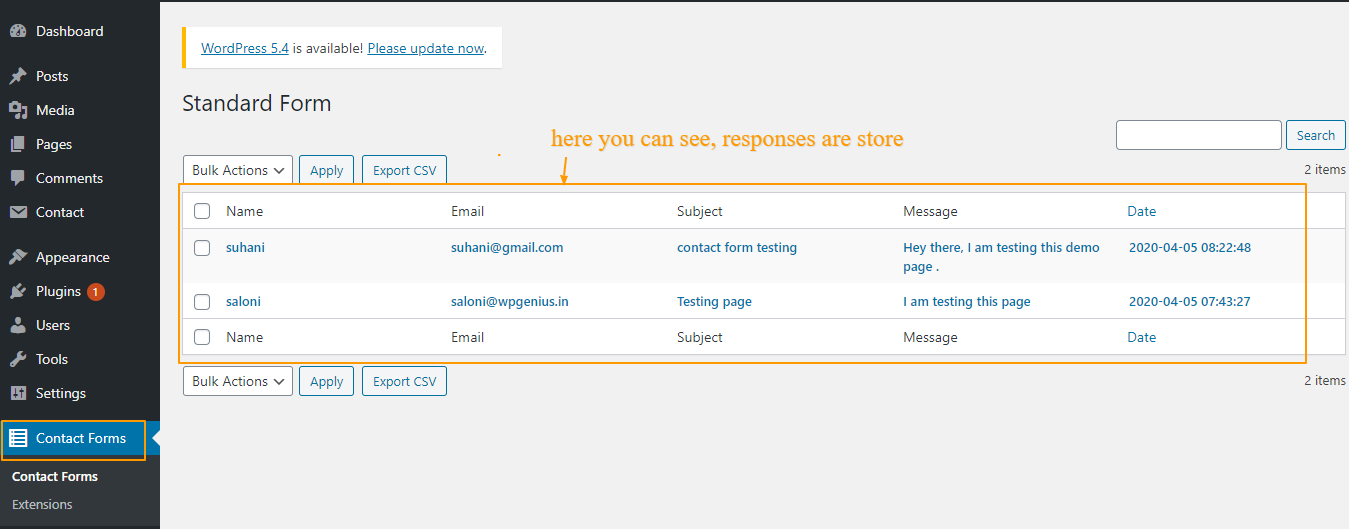
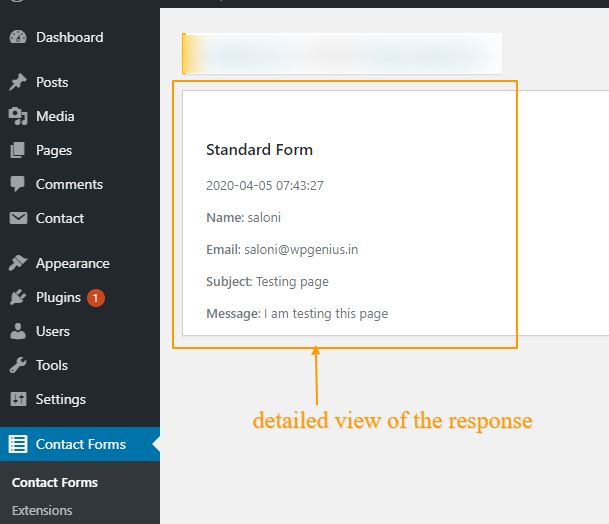
11. Click on the name for a detailed view.
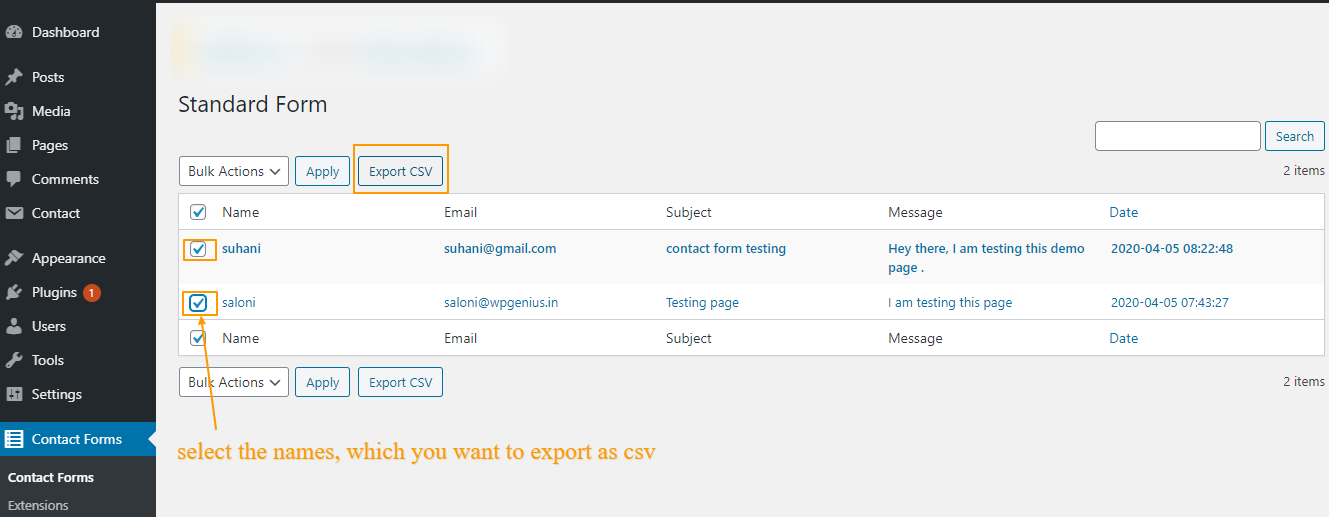
12. We can also export responses as CSV files. Click on the name, select the names that you want to export and click on the Export CSV button.
Flamingo
Flamingo is a message storage plugin originally created for Contact Form 7, which doesn’t store submitted messages.
Steps included:
1. Login to your WordPress Administration window.
2. Go to Dashboard >> Plugins >> Add New.
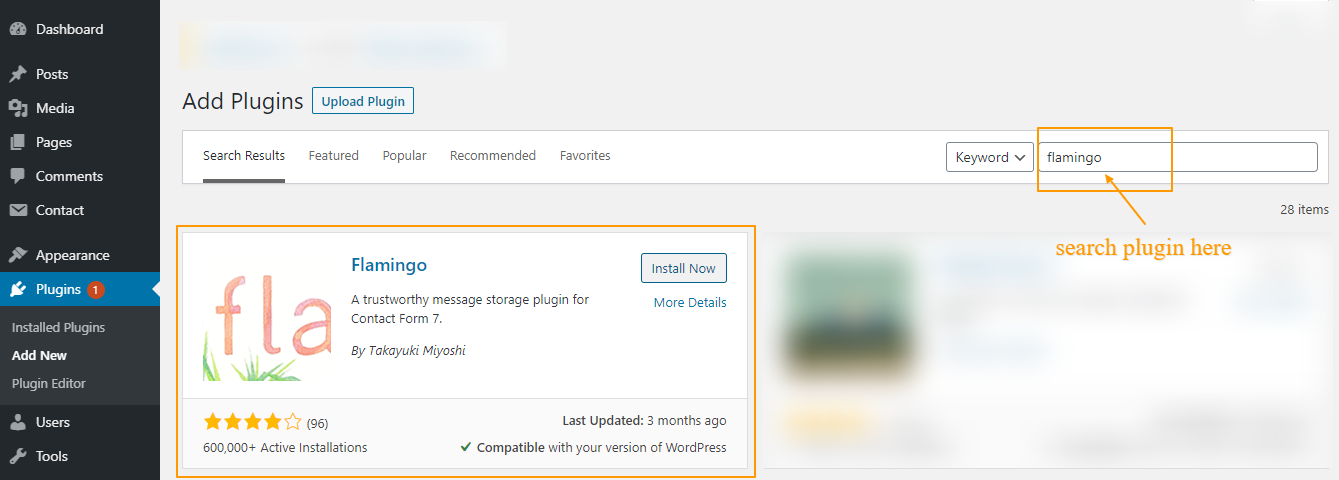
3. In the search box search the plugin ‘Flamingo’. Install and Activate the plugin.
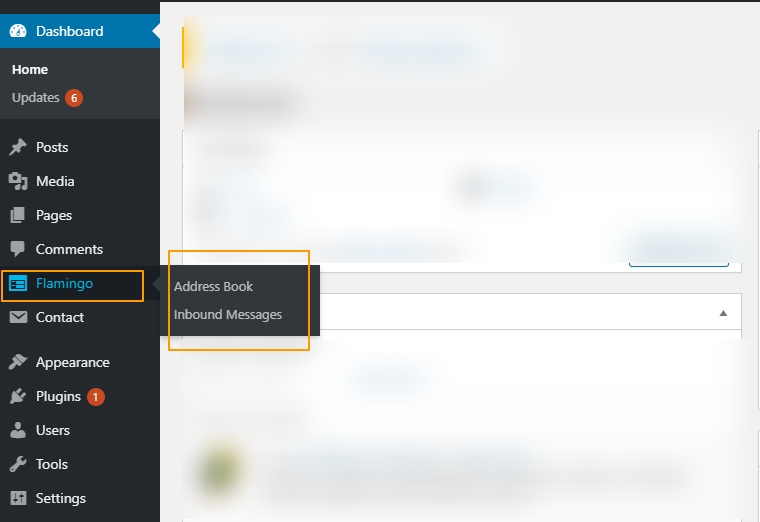
4. On the left-hand side of the screen, you will see a link for ‘Flamingo’ plugin and it’s got two separate buttons, here one is an Address Book and the other is for looking at your Inbound Messages. Both are straightforward.
5. So we’ll go ahead and start with the Address Book. Basically what it does is it’s going to show you a list of email addresses. When you install Flamingo for the first time it’s going to pull any email address that is associated with any contact forms that you have already set up.
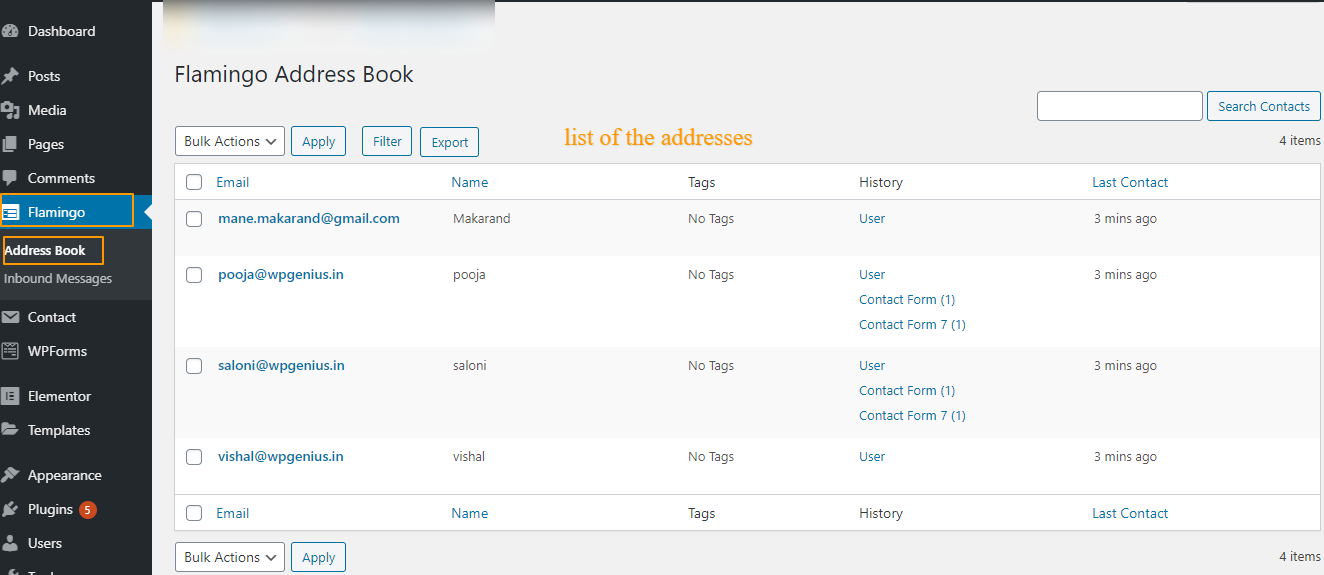
6. If you make any adjustments to the email addresses for your contact form Flamingo will do a good job of updating them automatically when you either deactivate and reactivate the plugin or when you go in and actually have your contact form used for the first time, if the address isn’t present it will actually add it into your address book for you and it will affiliate the address with any areas that are relevant.
As you can see here [email protected] a user address whereas the [email protected] shows us coming in as part of Contact Form and as a part of Contact Form 7 plugin itself.

7. Taking a look at the inbound messages. As you can see there’s a section for your inbox there’s a section for your spam and if you delete any messages there is a section for your trash as well.

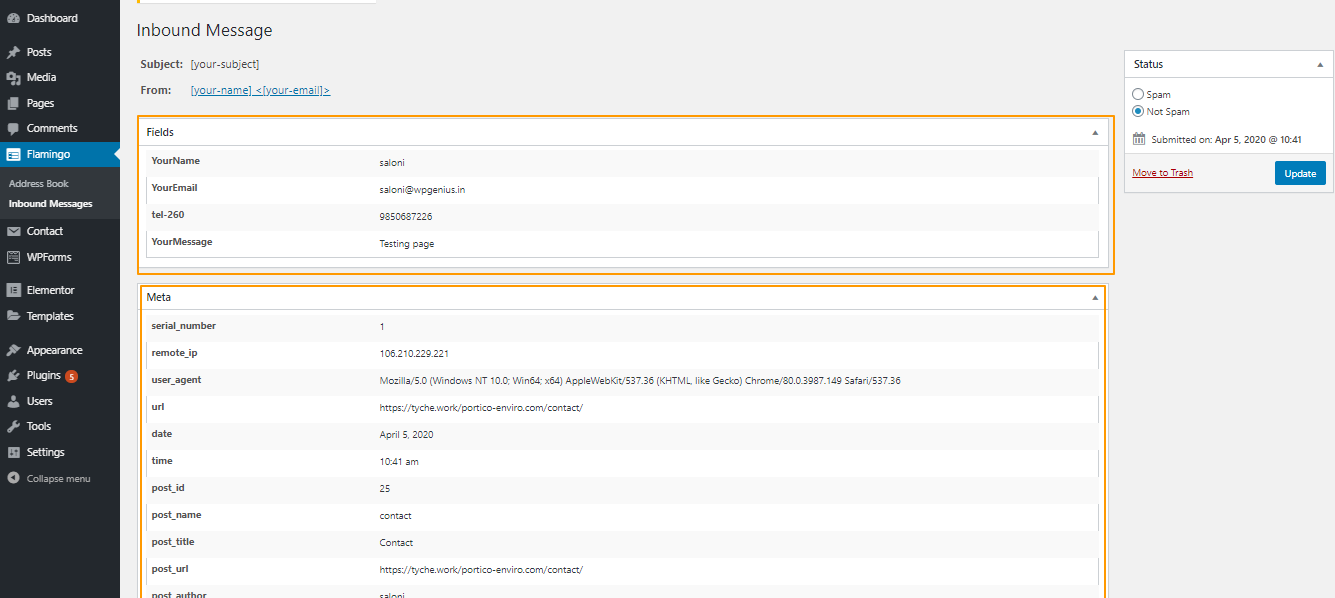
8. To look at messages we’re just going to go ahead and click on the view button here and it’s just going to give you some basic information it’s going to show the information that was filled on for your contact form in this first section here for the fields and then it’s gonna give you little more information down below here as to when it was submitted where the form came from that sort of thing.
9. All information will be stored in the database in PHP myadmin specifically they are gonna go to the WP underscore posts table.

