Introduction
People around us are from different areas , they speak many languages, they have their different mother tongues. People from different areas prefer different languages. That’s why your website should be translatable to any language, it should not be restricted to only one language. If it is, then you will miss the chance to link with a large number of people.
Generally, we use Google Translator for any language translation. In this tutorial I will show you how to add language translator to WordPress.
1. Login to your WordPress Website and go to Dashboard.
2. Now hover over the Plugins tab, it will open list Click on Add New.

3. Search for ‘Google Language Translator’ in the search box. Select the first one which has more installations.
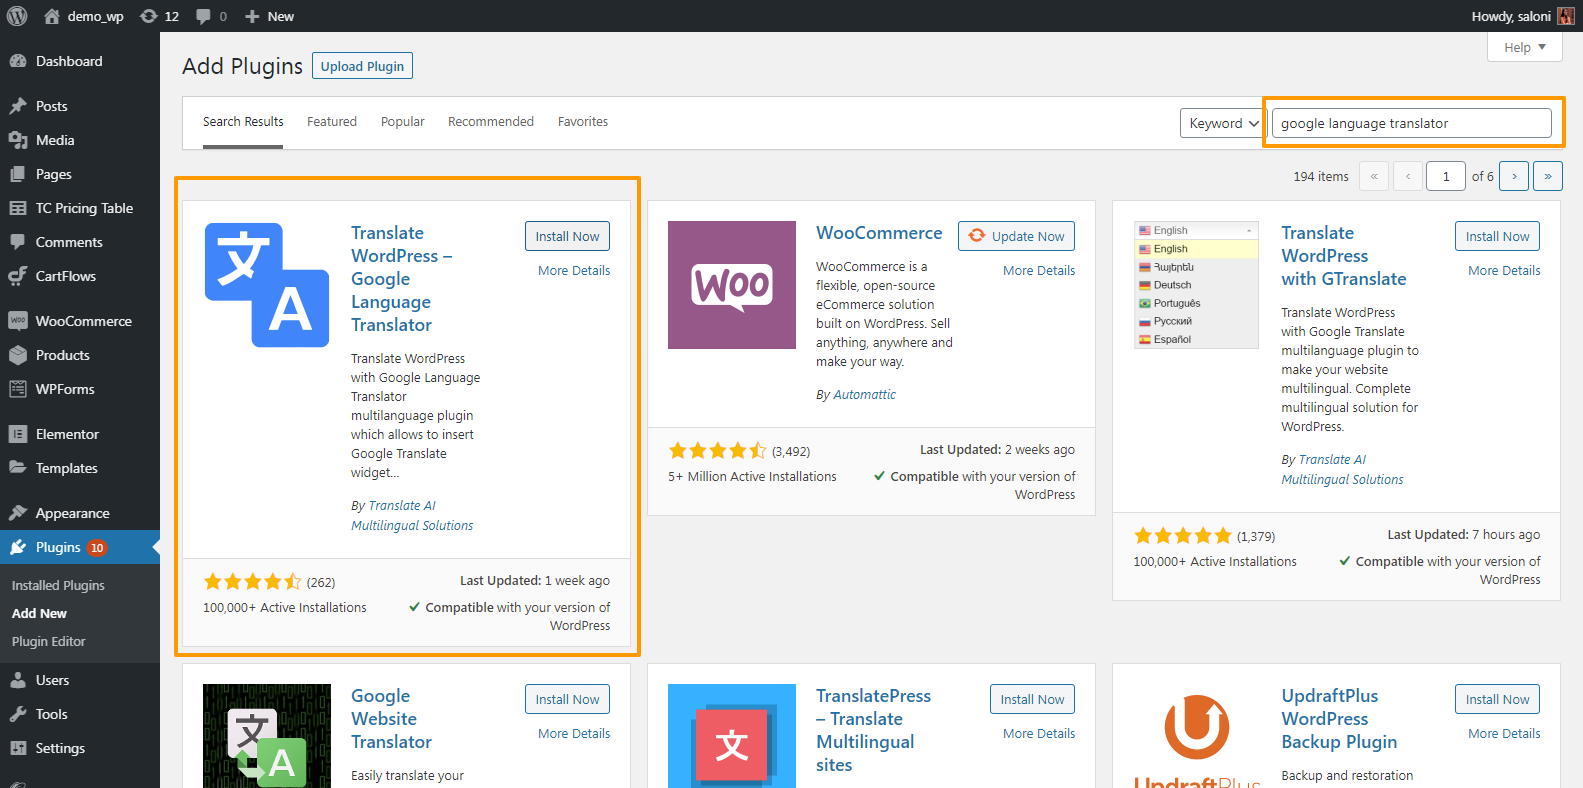
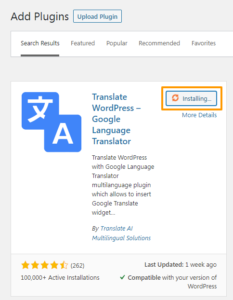
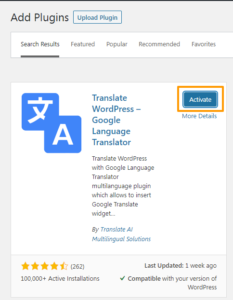
4. Click on Install Now and Active.
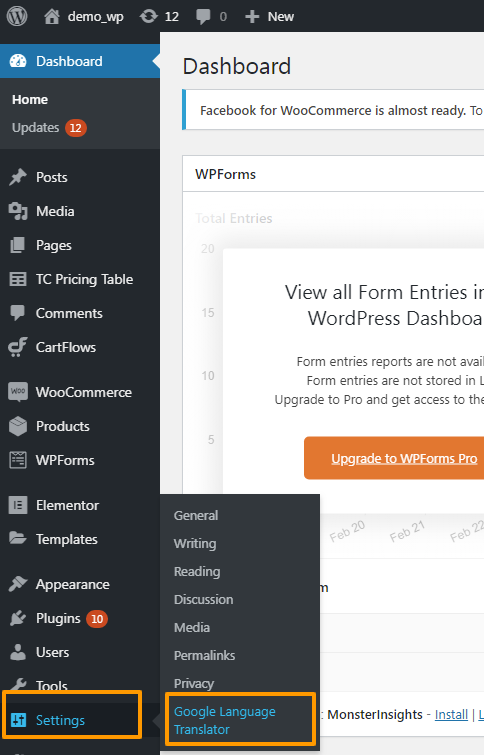
5. Now hover over Settings, it will open the list of options among them click on Google Language Translator.
6. In Main Settings, First you need to check the Checkbox to activate the Google Language Translator.

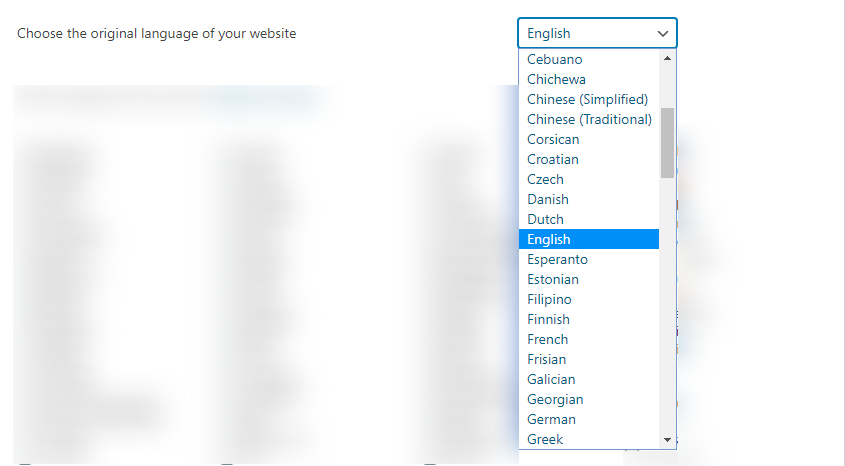
7. Second, you need to choose the original language of your website. Here we’ll choose English as it is a global language.
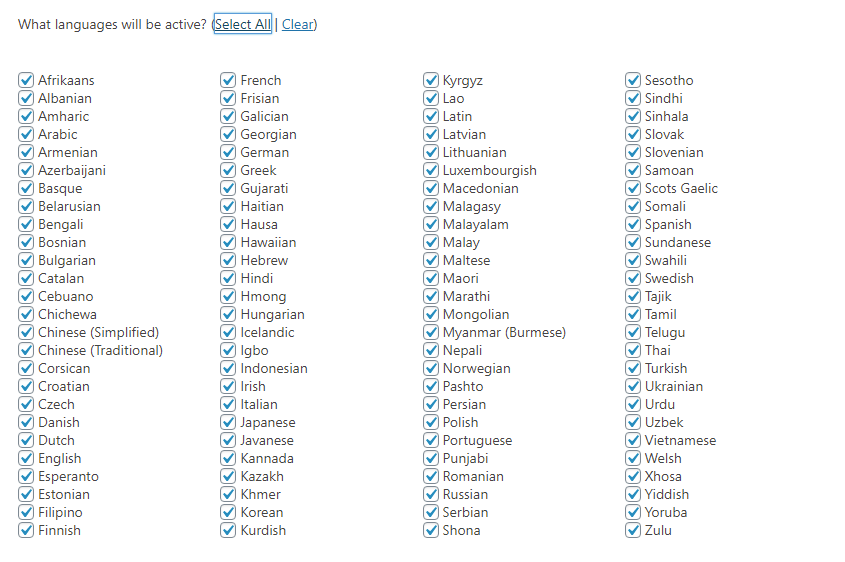
8. You can set a language translator for all languages or you can set for only selected language.
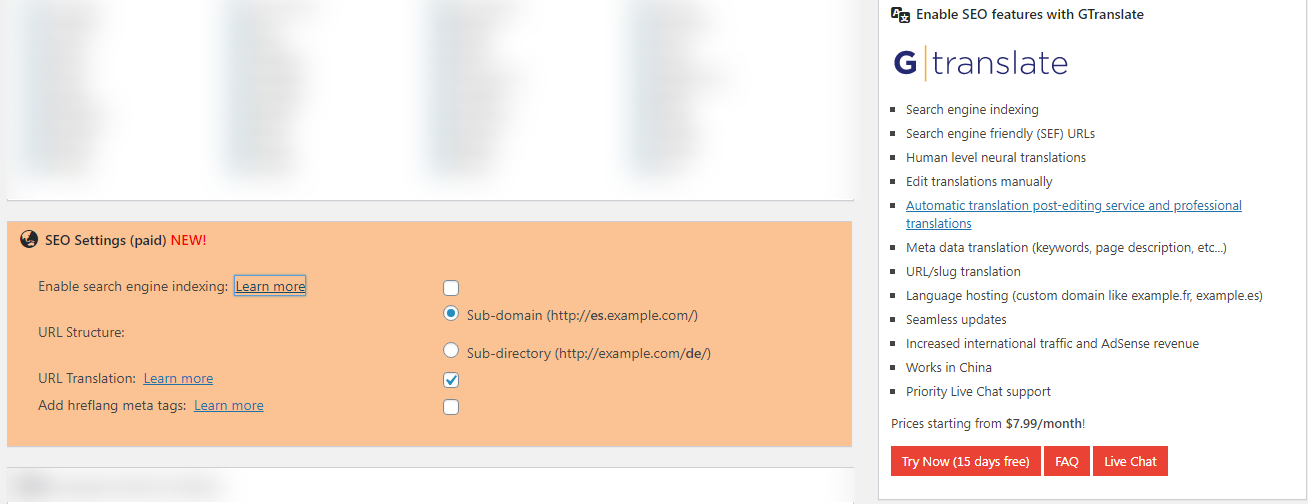
9. SEO Settings, these are paid settings, so I’m not going to use it. If you want to use then you can use it by paying.
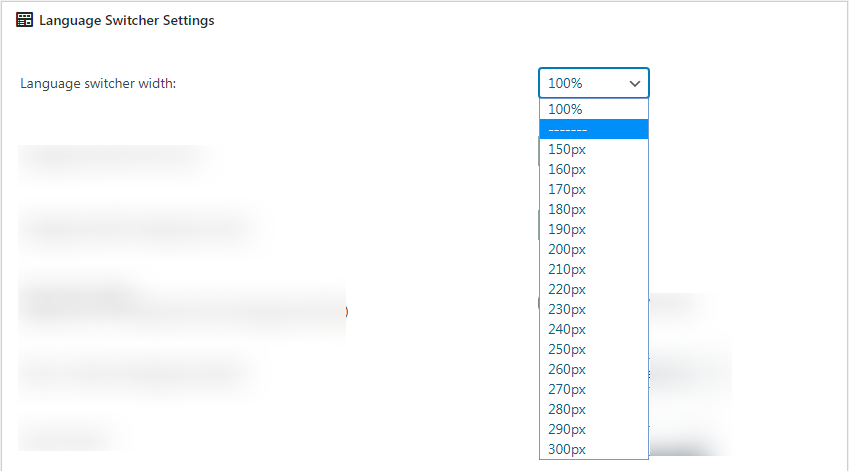
10. In Language Switcher Settings, you can choose the width for language switcher.
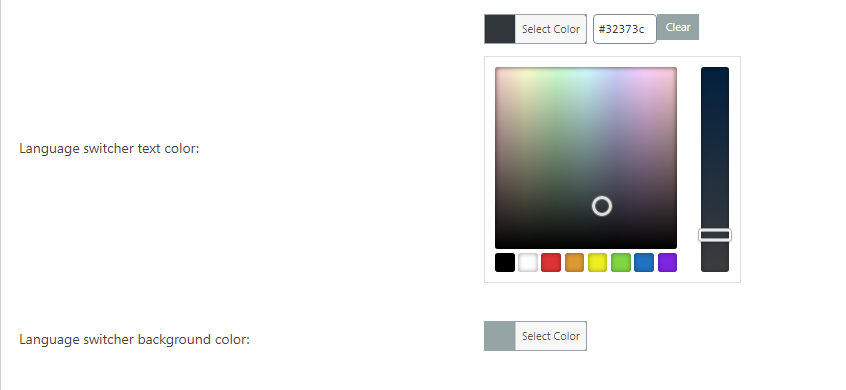
11. You can also set the text color and background color of the language switcher.
12. You can also show or hide flag images.

13. You can show or hide the language switcher.

14. You can set Layout as Vertical or Horizontal or SIMPLE if you want.

15. If you want to show Google Toolbar then set it to Yes, Otherwise set it to No.

16. If you want to show Google Translate watermark with the translation then select Yes.

17. Set the Alignment of the translator : Left or Right.

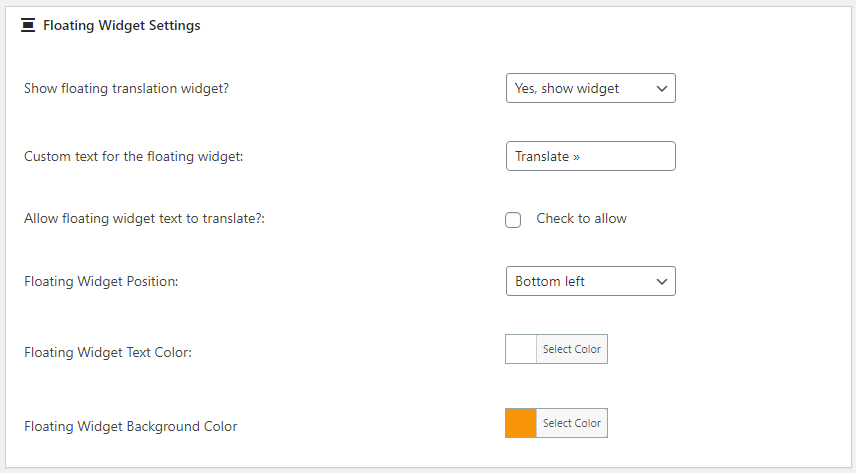
18. In Floating Widget Settings: leave other option as default or change it if you want.
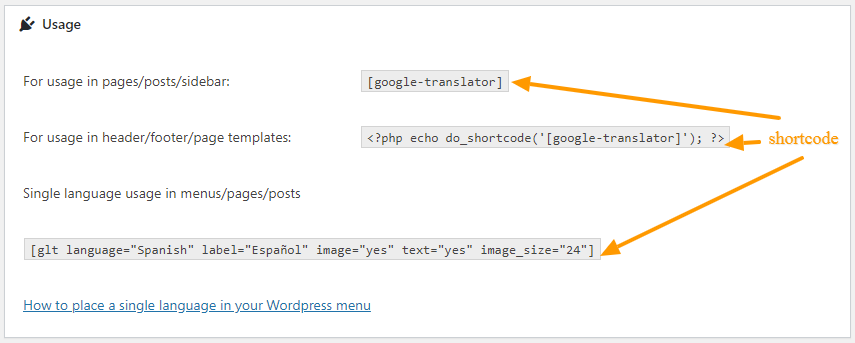
19. Usages: If you want to use Google Translator in pages/posts/sidebar, header/footer/page templates or in menus/pages/posts then use the shortcode generated.
20. Once done, click on the Save Changes button.

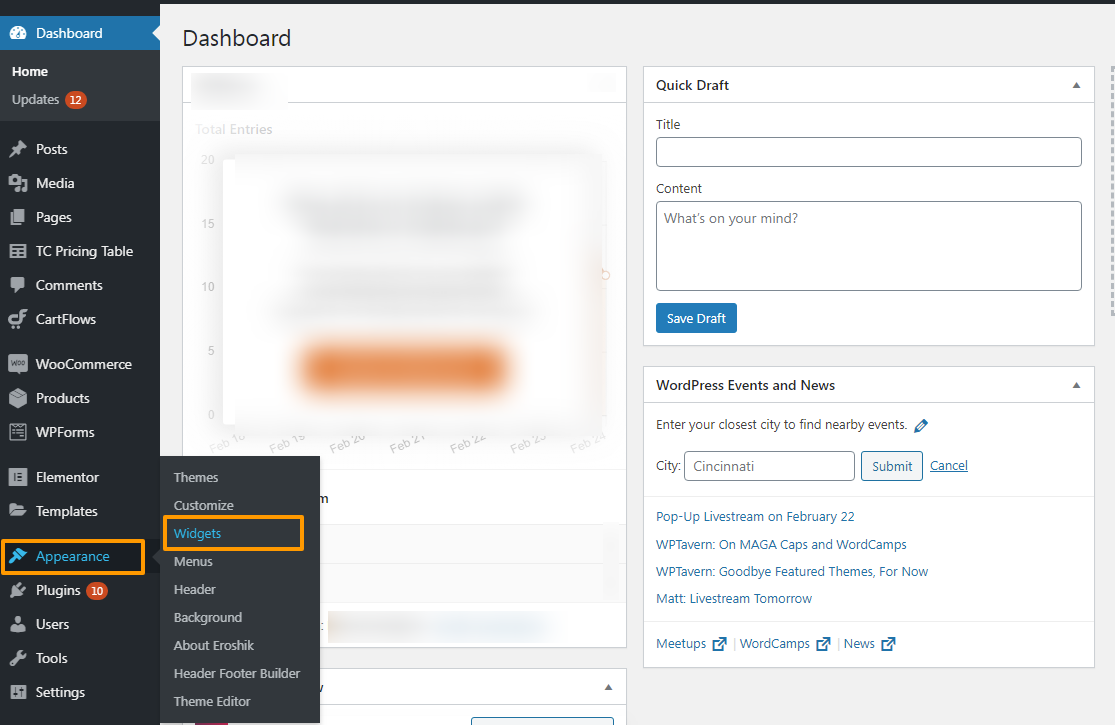
21. Now I will show you how to add a language translator in our website top page section. Hover over the Appearance , click on Widgets.
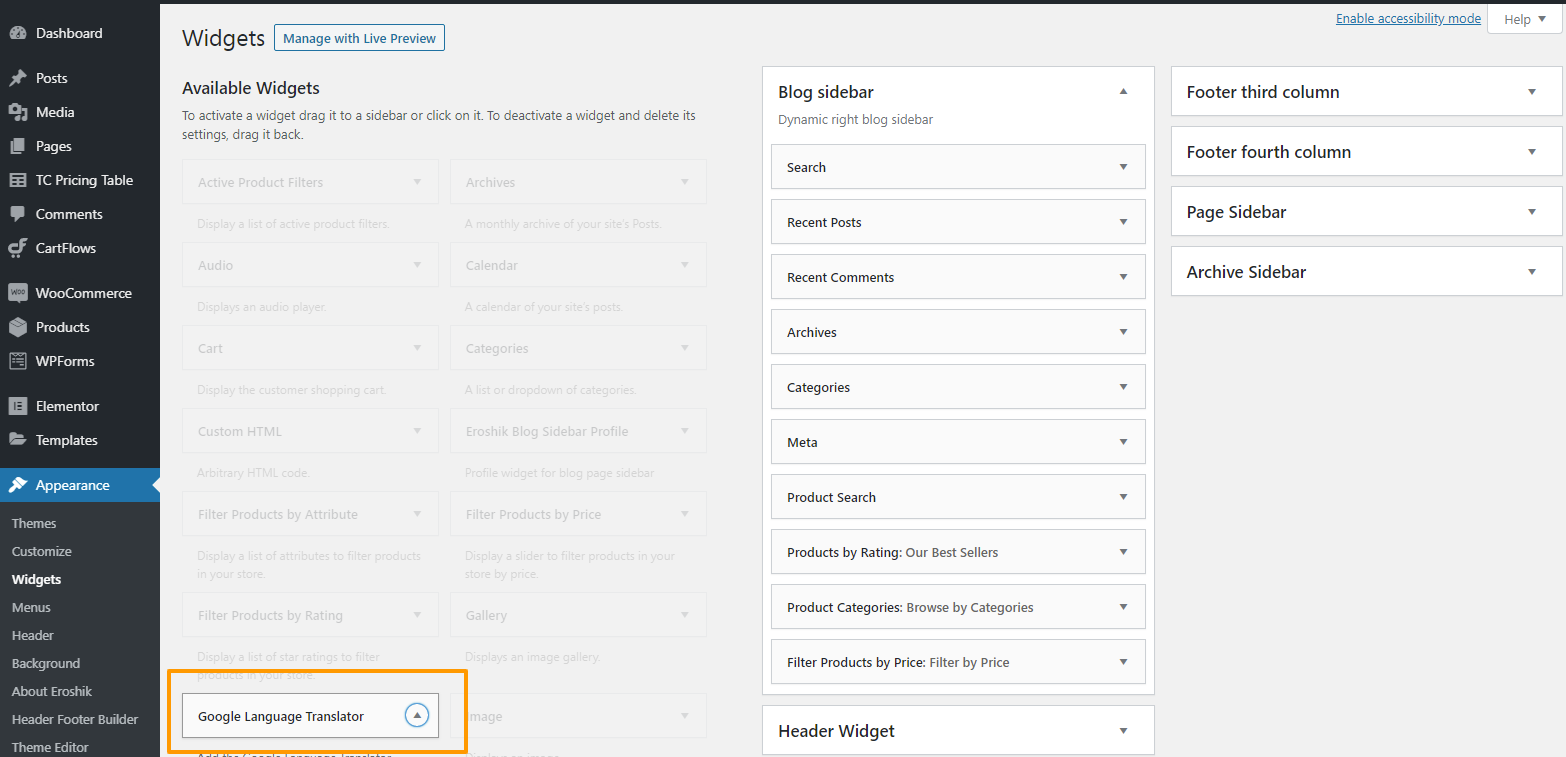
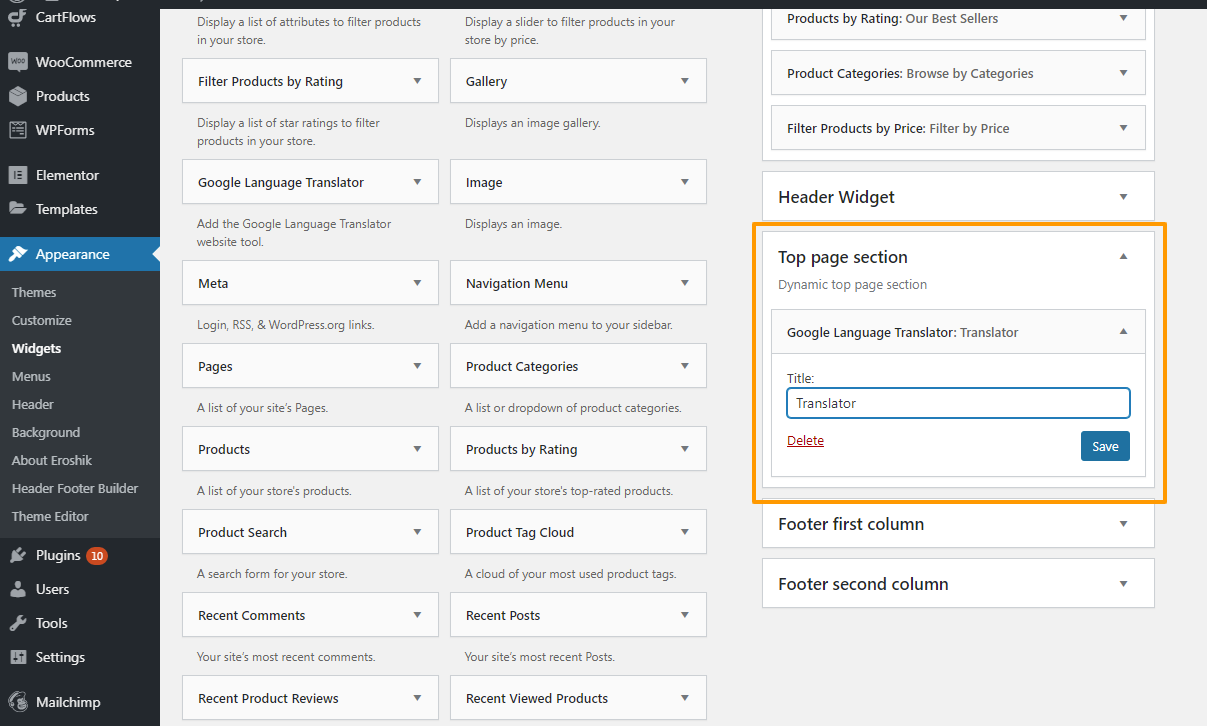
22. Now all you have to do is drag and drop Google Language Translator in Top page section or in any widgets area you want. Once you saved your website got multi-language features.
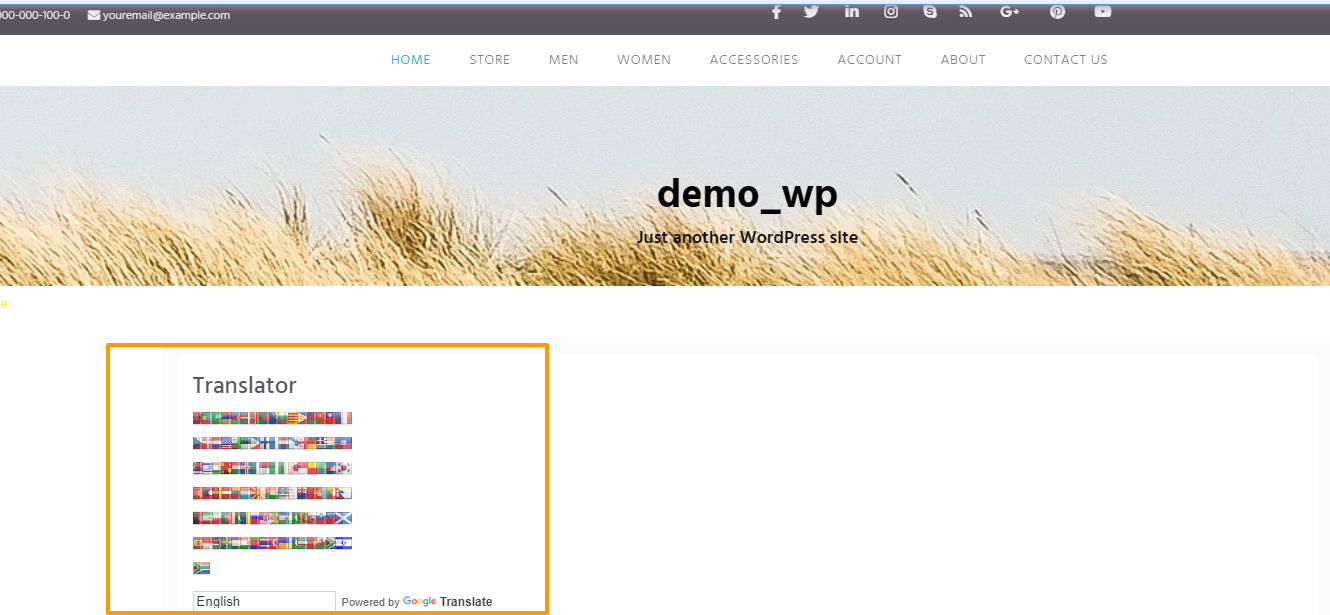
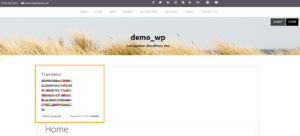
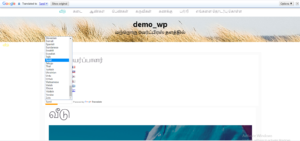
23. Now visit the site, you will see a language translator over there.

Conclusion
With the help of Google Language Translator we can translate our website to multiple languages and it will be beneficial for us to connect with a large number of audience from different areas having different mother tongue.

